
Skip to content

Waco Elite Drywall: Drywall Installation & Repair for Residential & Commercial Properties in Waco, TX

Waco Elite Drywall has over 20 years of experience providing drywall installation, repair and patching for homeowners and businesses across Waco and Central Texas. From finishing to texturing to ceiling repair, we pursue the highest standard, utilizing quality drywall panels or moisture-and-mold resistant board, depending on the room, and we ensure every room gets taped and finished to a true Level 4 or Level 5 smooth finish. We specialize in matching texture on patches and repairs, consistently receiving rave reviews from customers who "can't even find the spot where the work was done". For decades, we have managed thousands of new construction and remodel projects including everything from metal stud framing, fire-rated assemblies and acoustic ceiling systems in commercial properties to wallpaper removal in residential homes. We even provide full plaster-to-drywall conversions in older Waco neighborhoods like Castle Heights and Sanger Heights, where homes still have their original plaster walls.

Twenty years in, we've proudly installed drywall in everything from single-room additions to multi-unit apartment renovations across McLennan County, nearly 2,000 projects and counting. Roughly half of the residential repairs we've handled the last two years trace back to the shifting clay soil of Central Texas, rather than routine wear. This is why we treat crack diagnosis as its own step instead of a quick patch-and-go job. On the commercial side, our crews have framed and finished everything from single-office buildouts to multi-tenant retail spaces, prioritizing working directly from construction drawings instead of guesswork.

"We started this company to do drywall work the right way, treating every job like it's our own home."

Mark, Owner

Every project starts with a free, itemized quote before any materials get ordered, so there are no surprises when the invoice comes. We also invest in ongoing training, sending our crew to AWCI's Convention & Expo each year to learn about new materials and installation methods before they become standard. In addition, our finish work follows Gypsum Association GA-214 standards, and every fire-rated assembly we build meets current International Residential Code requirements. We're fully insured, and every project closes with a written workmanship warranty behind it. Request your free estimate and we'll scope your project from the first visit.

Get a Free Estimate

Residential Drywall Services in Waco, TX

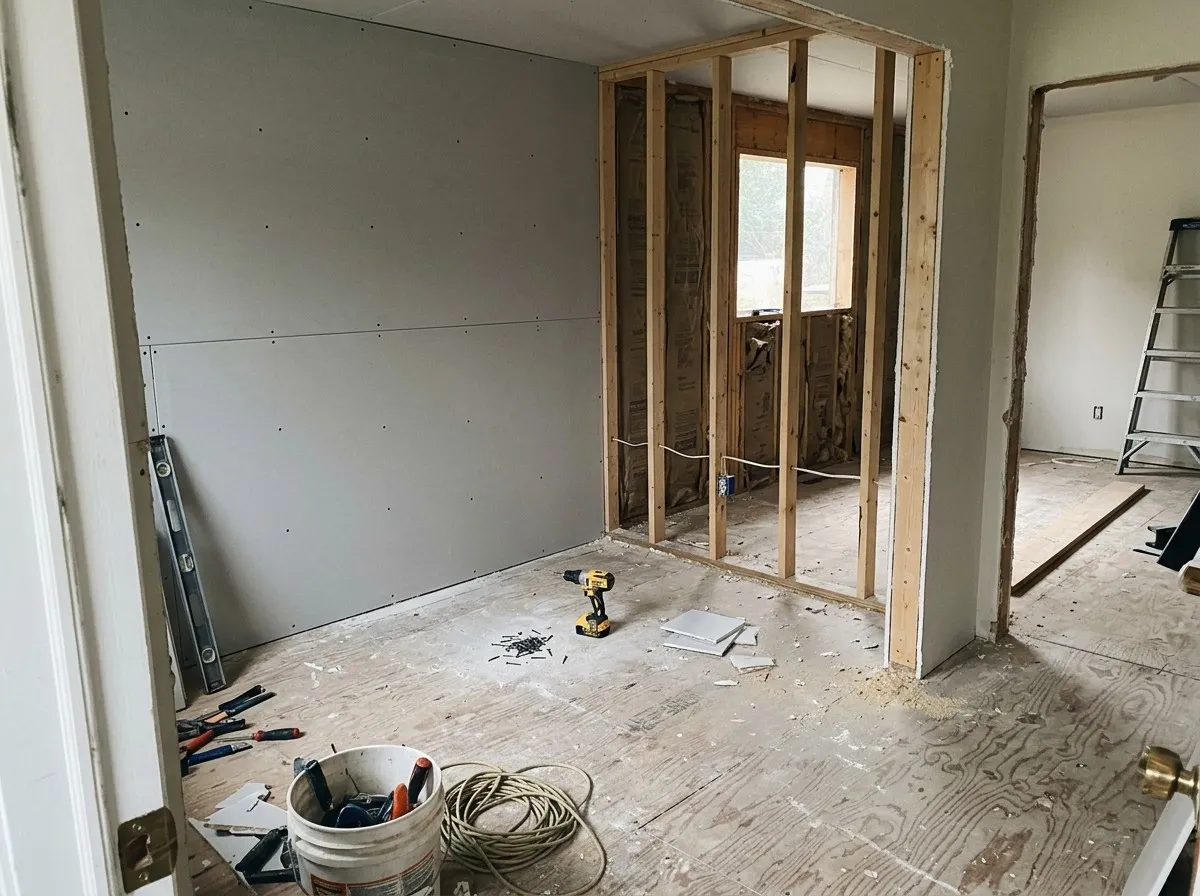
  • A room mid-remodel with new drywall screwed to one wall and a freshly framed stud partition beside it, a cordless drill, screws and hand tools on the subfloor

    Residential Drywall Installation

    Drywall installation starts before the first sheet goes up, with fastener spacing and framing checks most crews rush past. We drive screws every 12 inches on center on walls, closer together on ceilings, set just below the paper without tearing it. We hang 1/2-inch standard board on most rooms and 5/8-inch Type X on garage ceilings below living space, meeting current fire-separation code. Every seam gets paper or mesh tape and three coats of joint compound, with corner bead and trim installed as part of the same job rather than billed separately, so the finished edges match the rest of the wall.

    One recent Woodway project replaced an entire home's drywall after a slab leak, a $21,200 job that started with installation exactly like this. A single new wall for a home addition and a full-room replacement get the same standard from our crew, start to finish.
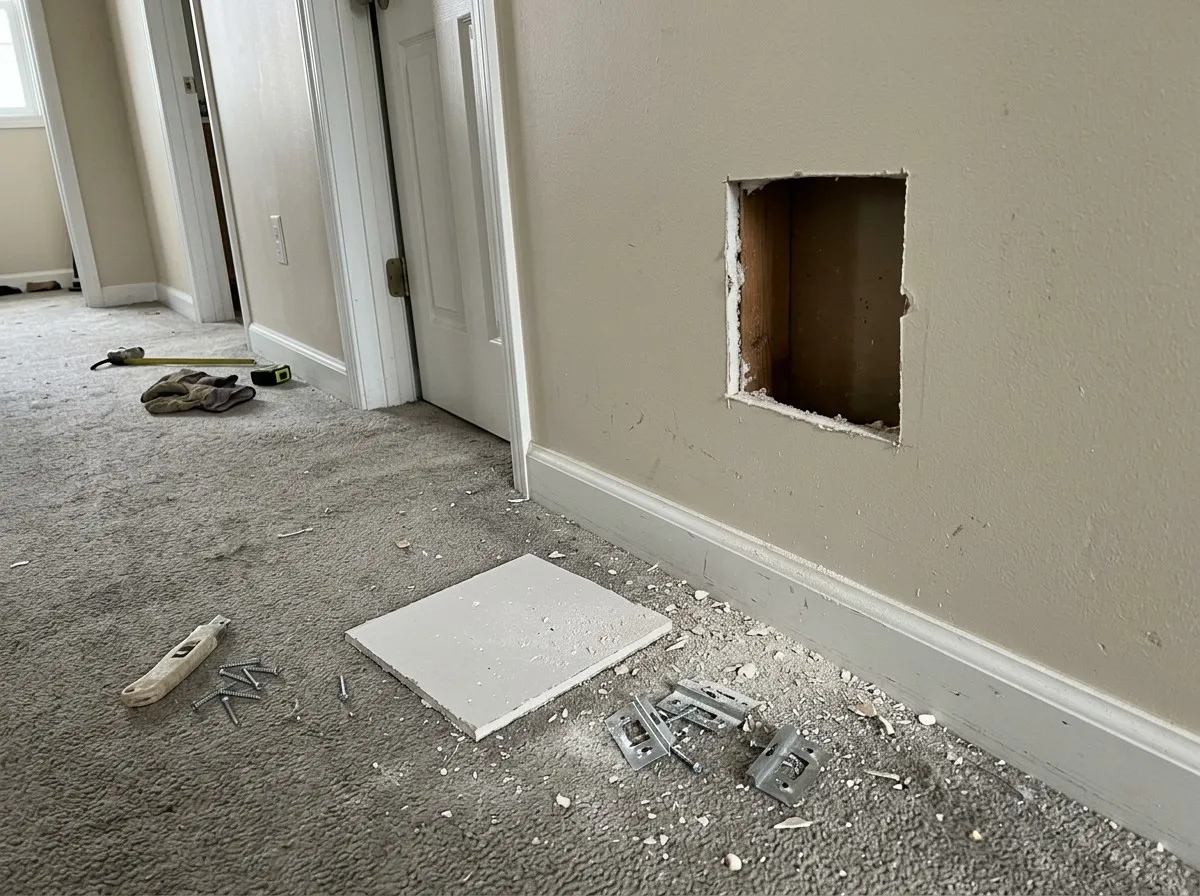
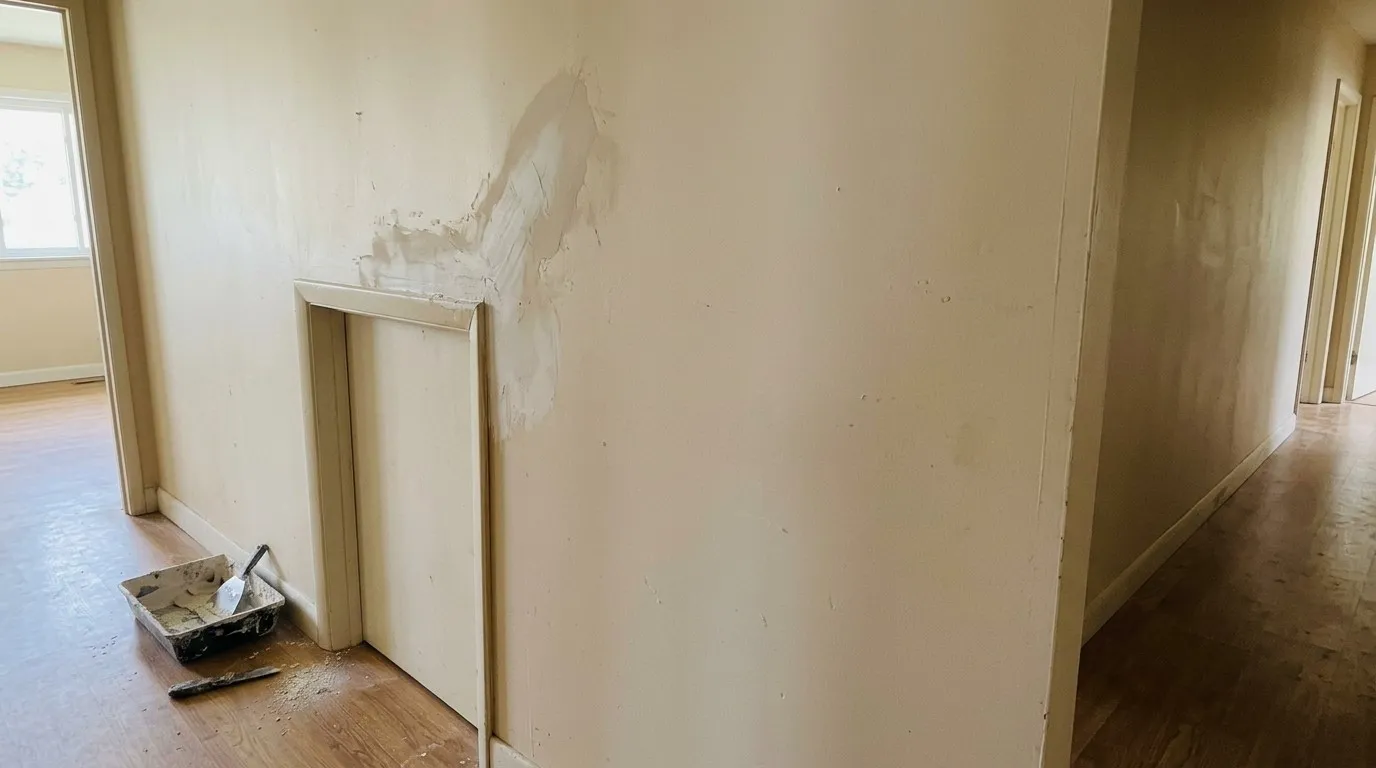
  • A damaged section of hallway wall cut back to a clean square, with the new drywall patch piece, repair clips, screws and a utility knife on the carpet below

    Residential Drywall Repair and Patching

    We repair drywall damage by cause. A nail pop takes a new screw and a fresh dimple of compound. A fist-sized hole needs a patch backed with a scrap of drywall or a repair clip. A crack that keeps coming back gets a different fix than a one-time ding, since chasing the same crack with the same patch twice usually means the cause was never addressed the first time. Central Texas sits on Blackland Prairie clay, which shrinks and swells enough with the seasons to crack drywall along the same stress points year after year. When that's the cause, we address the crack itself, but we also flag when the movement points to something a foundation contractor should look at instead of just patching over it again. Water-damaged drywall, from a slow roof leak or a burst supply line, gets cut back to dry framing before new drywall goes in, never mudded over wet material. Bathroom walls and ceilings get the same repair standard, with moisture-resistant drywall used for the replacement section when the damage calls for it. Every patch is sanded, primed and texture-matched to the surrounding wall so the repair doesn't stand out once it's painted.

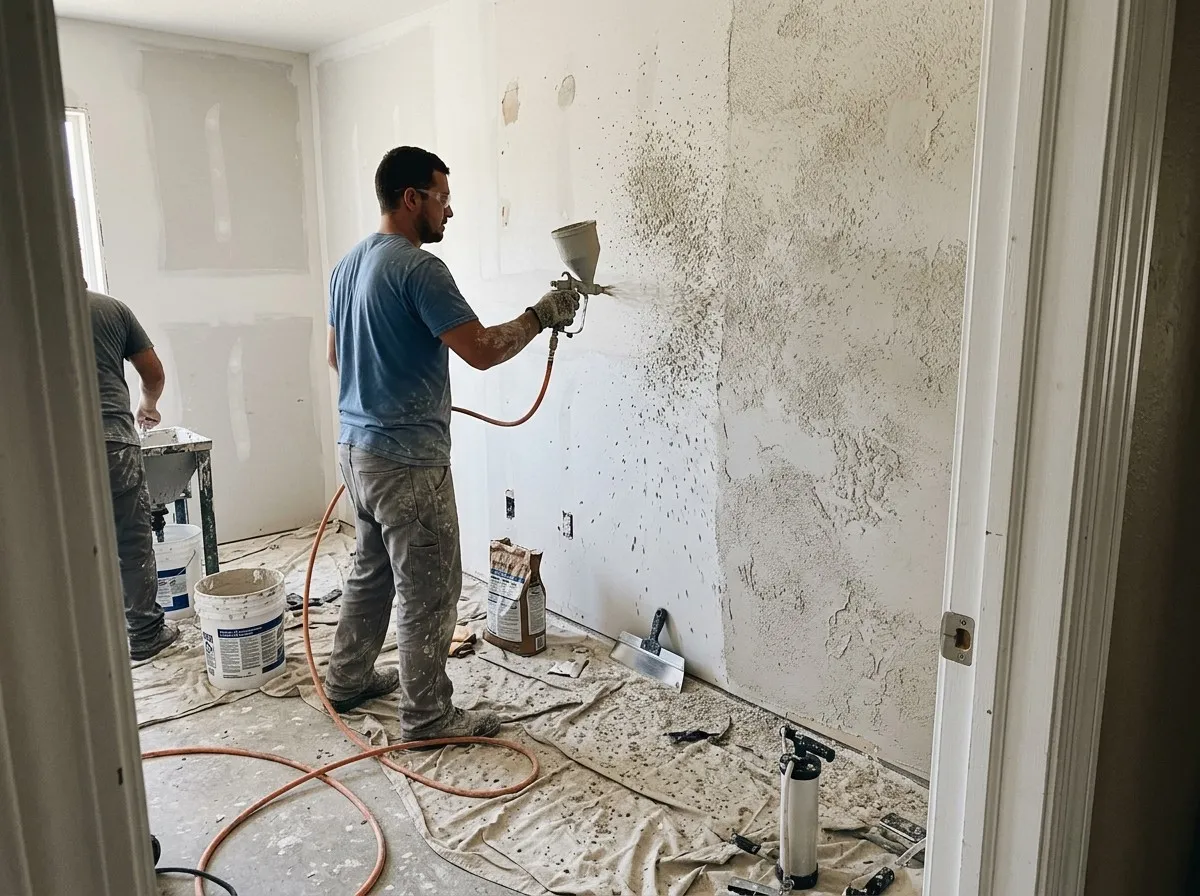
  • A finisher spraying texture onto a wall with a hopper gun, part of the wall already textured and part still smooth, while a second crew member mixes compound in the background

    Drywall Finishing and Texturing

    Finishing is what separates a wall that looks hung from one that looks painted-ready, and it's where taping, mudding and sanding either show or disappear completely once the lights are on. We tape every seam with paper or mesh, then build up three coats of joint compound feathered progressively wider so no ridge or shadow line shows under raking light. That's a Level 4 finish, the standard for most painted walls under Gypsum Association GA-214. From there we match texture to whatever the rest of the house already has: knockdown, orange peel, or a smooth skip trowel, applied with a hopper gun and knocked down by hand at the right dry time so the pattern reads consistent from one wall to the next. Texture matching on a patch or an addition takes real attention to the stipple size and the knockdown timing, since getting either wrong leaves the new section visible from across the room. A full skim coat is also available for a Level 5 smooth finish with no texture at all, the choice for glossy paint or dramatic lighting where every surface needs to look flawless.

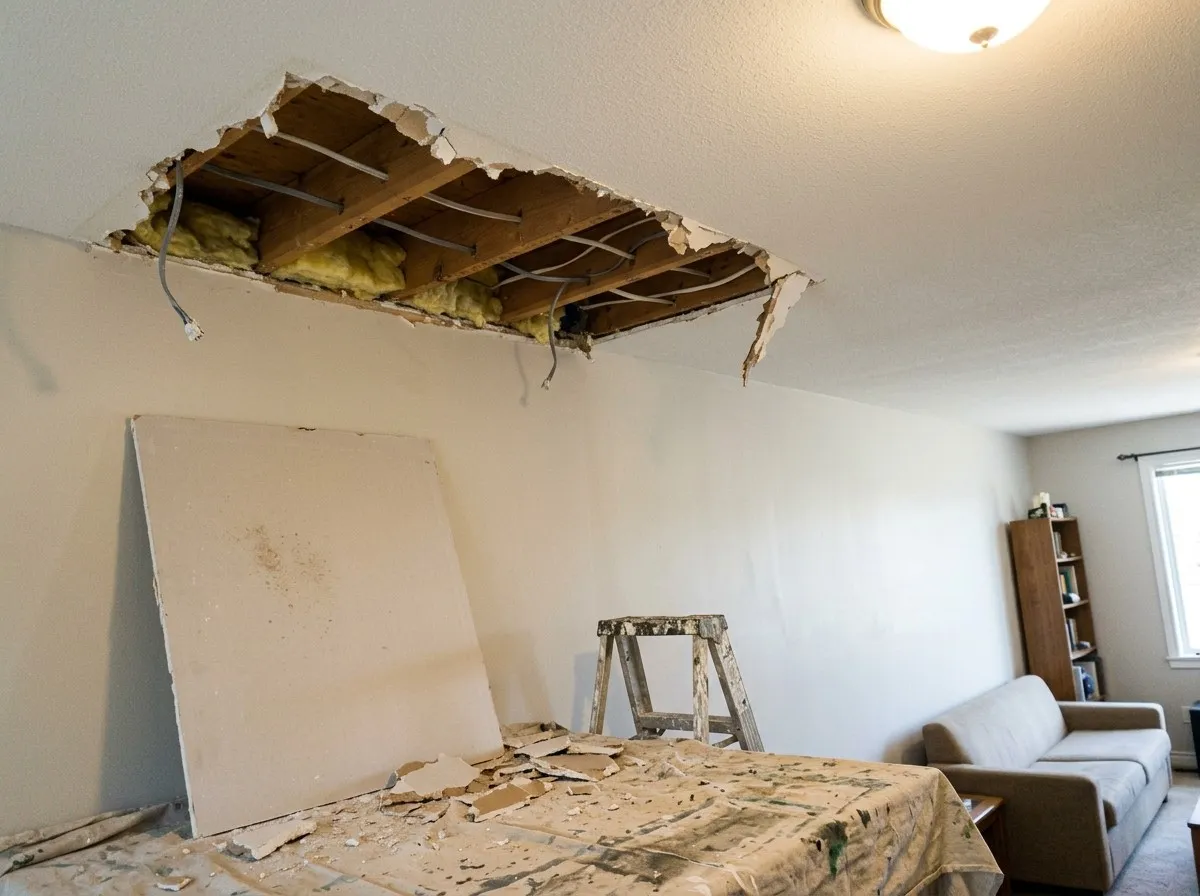
  • A living-room ceiling with a damaged section torn out to the joists and insulation, a new sheet of drywall leaning against the wall below and debris on a drop cloth

    Drywall Ceiling Repair

    Ceiling drywall takes more of a beating than wall drywall: sagging seams from age, water stains from a roof or plumbing leak above, and popcorn texture that's been painted over one too many times. We repair ceiling seams and cracks the same way we repair walls, but ceiling work adds its own challenge, since gravity works against every patch until the compound sets. We screw the whole surrounding field tight to the joists before mudding, so the repair blends into a ceiling that's still solid rather than just patching the damaged spot. A water-stained ceiling gets checked for the actual moisture source first; we won't skim-coat over an active leak just to make it look finished for a few months. New ceiling drywall installation, for a room addition or an open-ceiling remodel, uses the same fastening and finish standards as our wall installation work, just adapted for the overhead angle and the extra bracing a ceiling needs to keep from sagging over time.

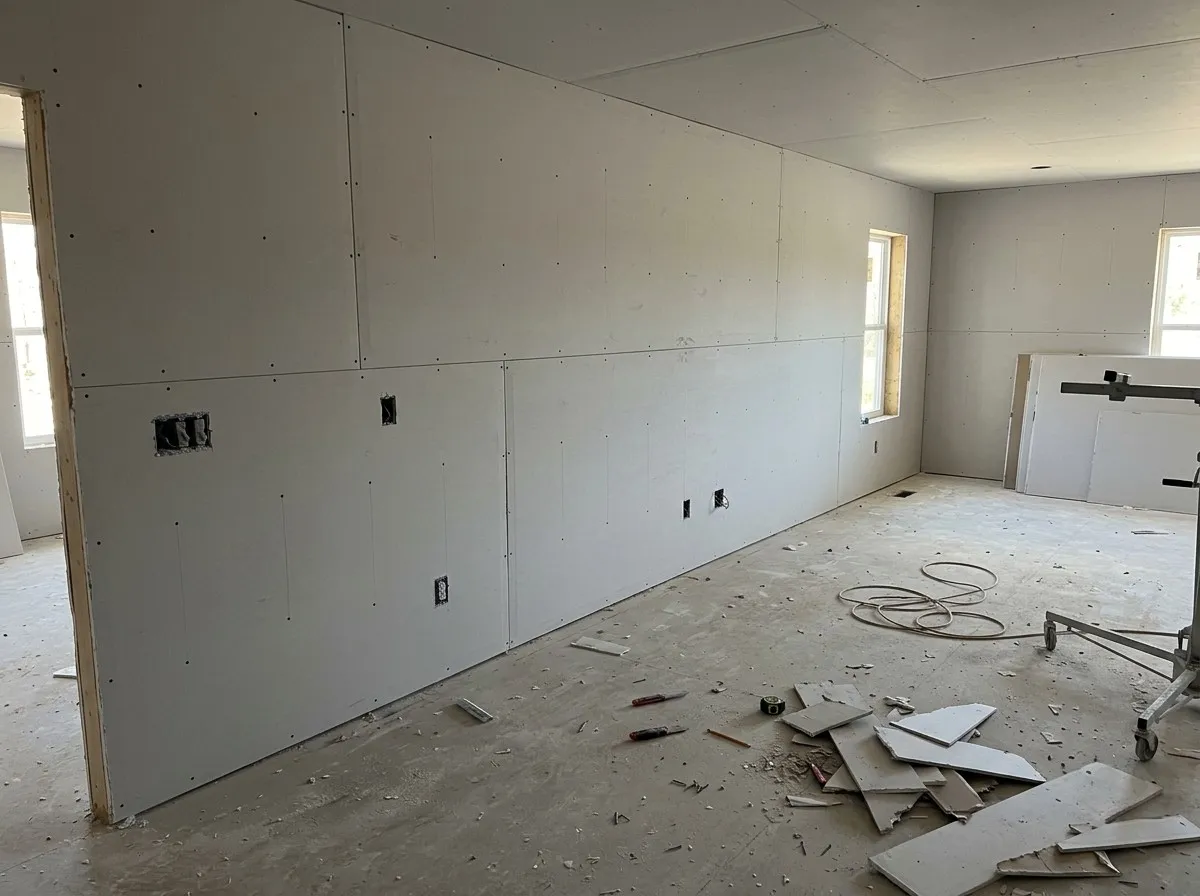
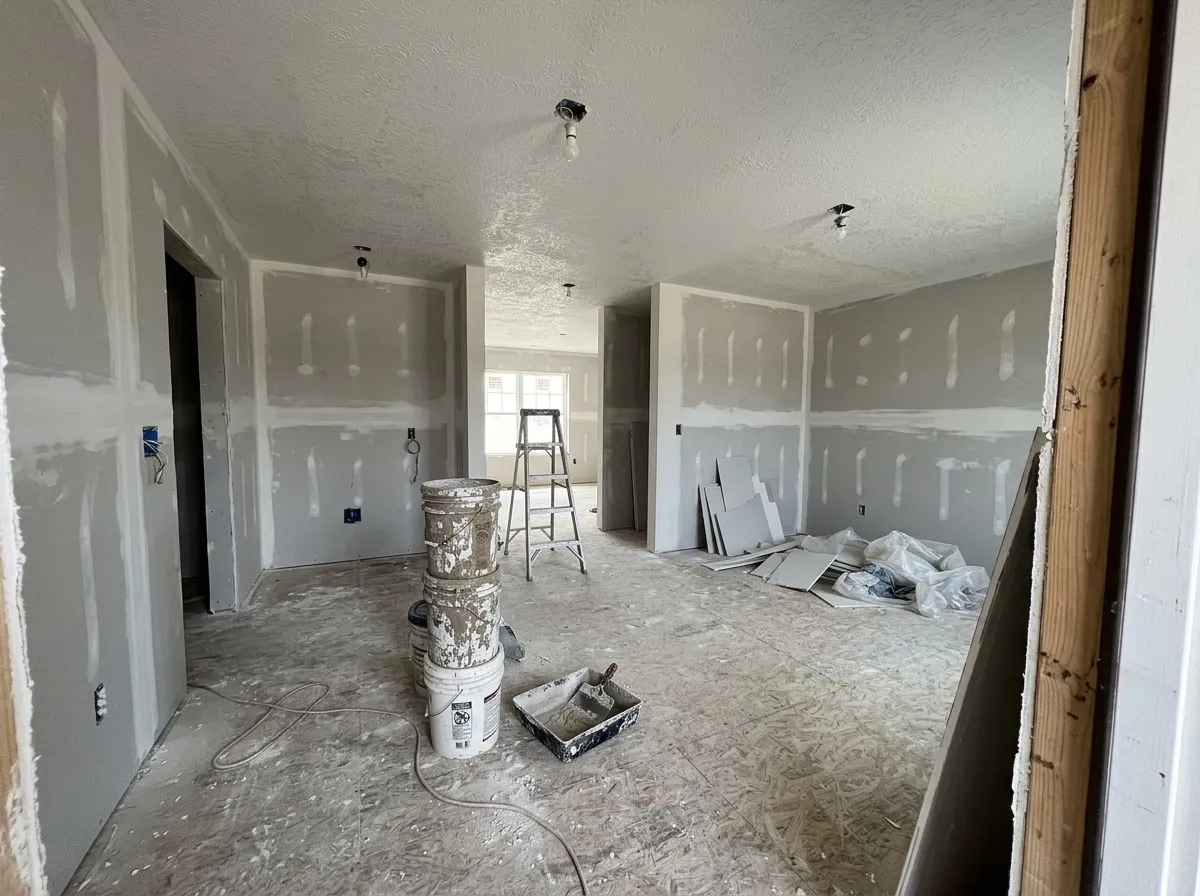
  • A large room in a new house with drywall hung on the walls and ceiling and electrical boxes cut out, seams not yet taped, a drywall panel lift and offcuts on the subfloor

    New Construction and Remodeling Drywall Installation

    A new-construction drywall job and a remodel start from very different points, even though the finished wall looks the same either way. On a new build, like a recent whole-house hang in Hewitt, we're working from framing plans, coordinating around electrical and plumbing rough-in, and hanging and finishing an entire house at once: install, tape, and Level 4 finish, room by room, on a schedule set with the builder. A remodel is the opposite. It means matching new drywall into an existing wall or ceiling without a seam line showing, working around whatever's already finished in the rest of the room, and often working after another trade has already opened up a wall. We work directly with general contractors and builders on the new-construction side, and directly with homeowners on remodel work. We price and schedule each one differently, because the actual job is different even when the material going up is identical.

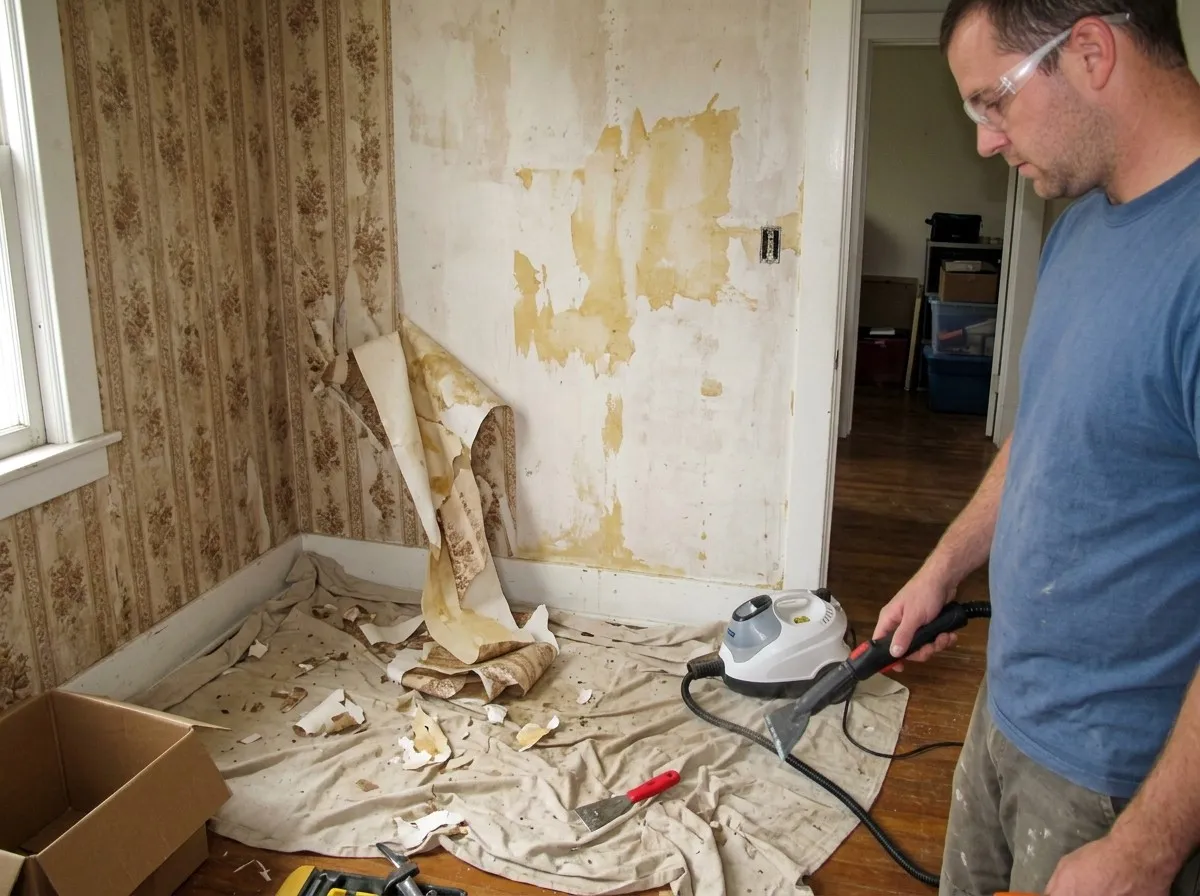
  • A crew member with a wallpaper steamer in a bedroom corner where old patterned wallpaper has been stripped from one wall, leaving adhesive stains, with torn strips and a scraper on the drop cloth

    Wallpaper Removal

    We handle wallpaper removal as full drywall-prep work: we score the paper, steam or wet-strip it off, then wash and skim the wall to pull the remaining adhesive residue and any gouges left from the original hanging. Old adhesive left behind after a rushed removal telegraphs through fresh paint and shows up as texture and sheen differences once the room is repainted. A wall that's been papered for decades sometimes has damage underneath that only shows up once the paper is gone, like a soft spot from old moisture or a crack the paper was hiding, and we address that before repainting instead of leaving it for the homeowner to discover later. This call comes in constantly alongside a repaint or a full room remodel, and every one gets the same full prep treatment before the painter ever shows up.

Commercial Drywall Services

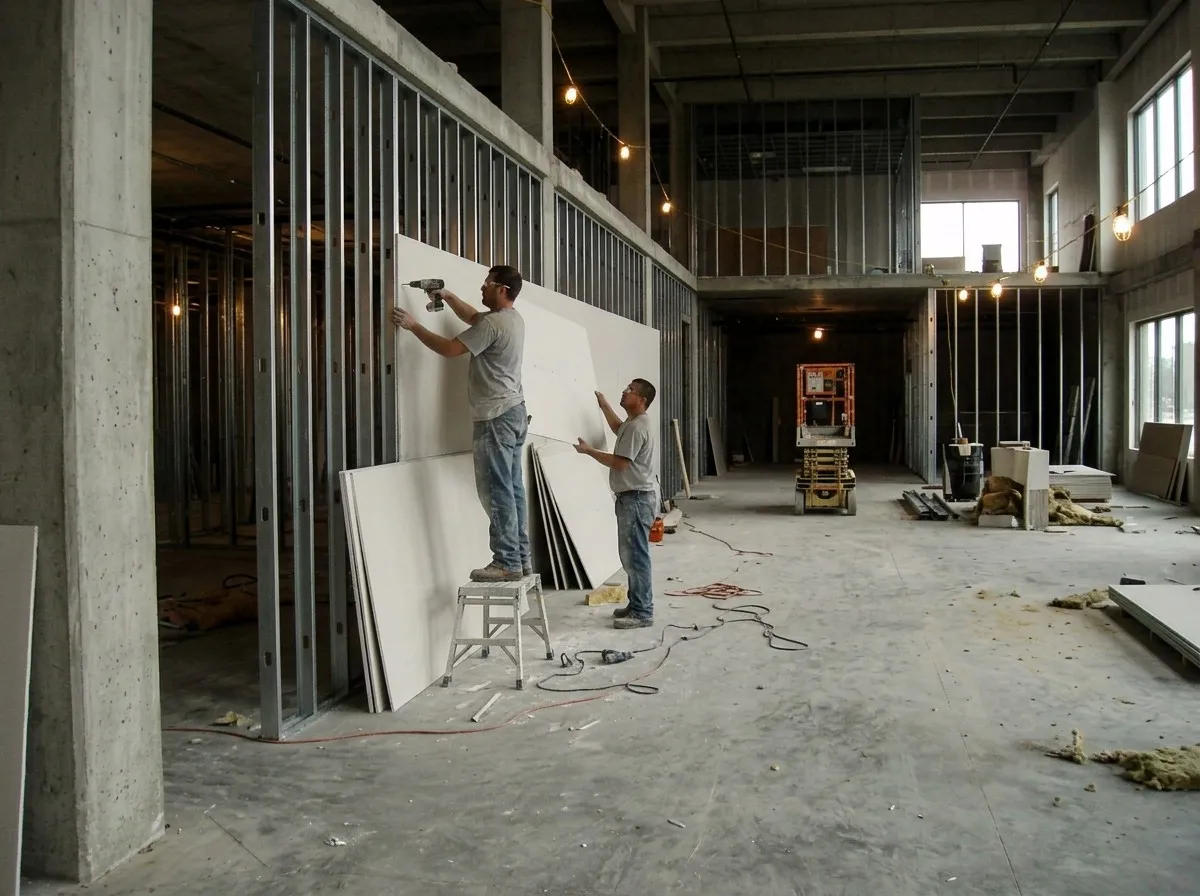
  • Two installers hanging drywall on a long metal-stud partition in a large open commercial space with concrete columns, a scissor lift parked further back

    Commercial Drywall Installation

    Scale is what separates a commercial drywall job from a residential one: square footage measured by the thousands, and a general contractor's timeline to hit instead of a single homeowner's schedule. We hang and finish drywall for office buildouts, retail spaces and other commercial interiors, working off construction drawings and coordinating around the other trades on-site. Fire-rated and sound-rated assemblies are common on commercial jobs, and we build those to the same code standard as our residential fire-rated work, just at commercial scale. A commercial job comes with a written schedule and real milestones, so the general contractor can plan the trades that come in after us around a fixed date instead of guessing.

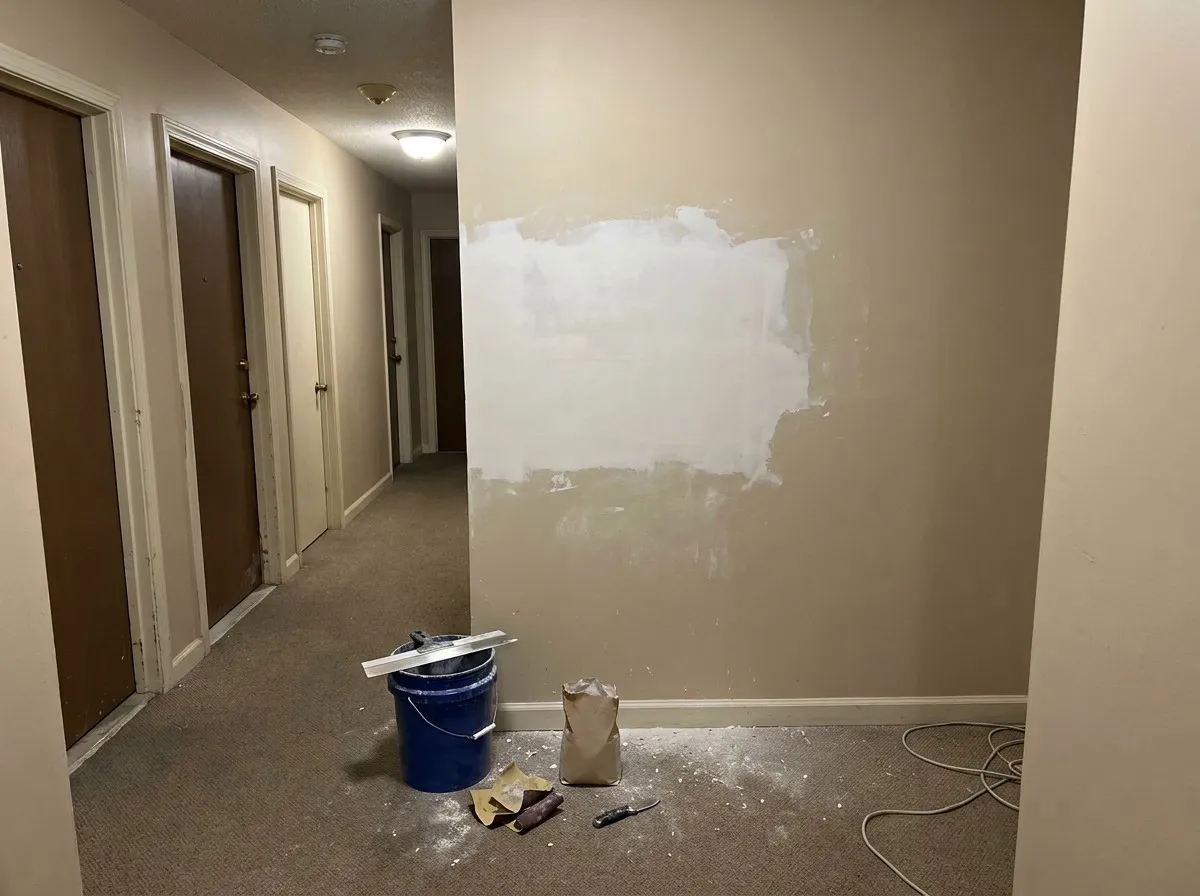
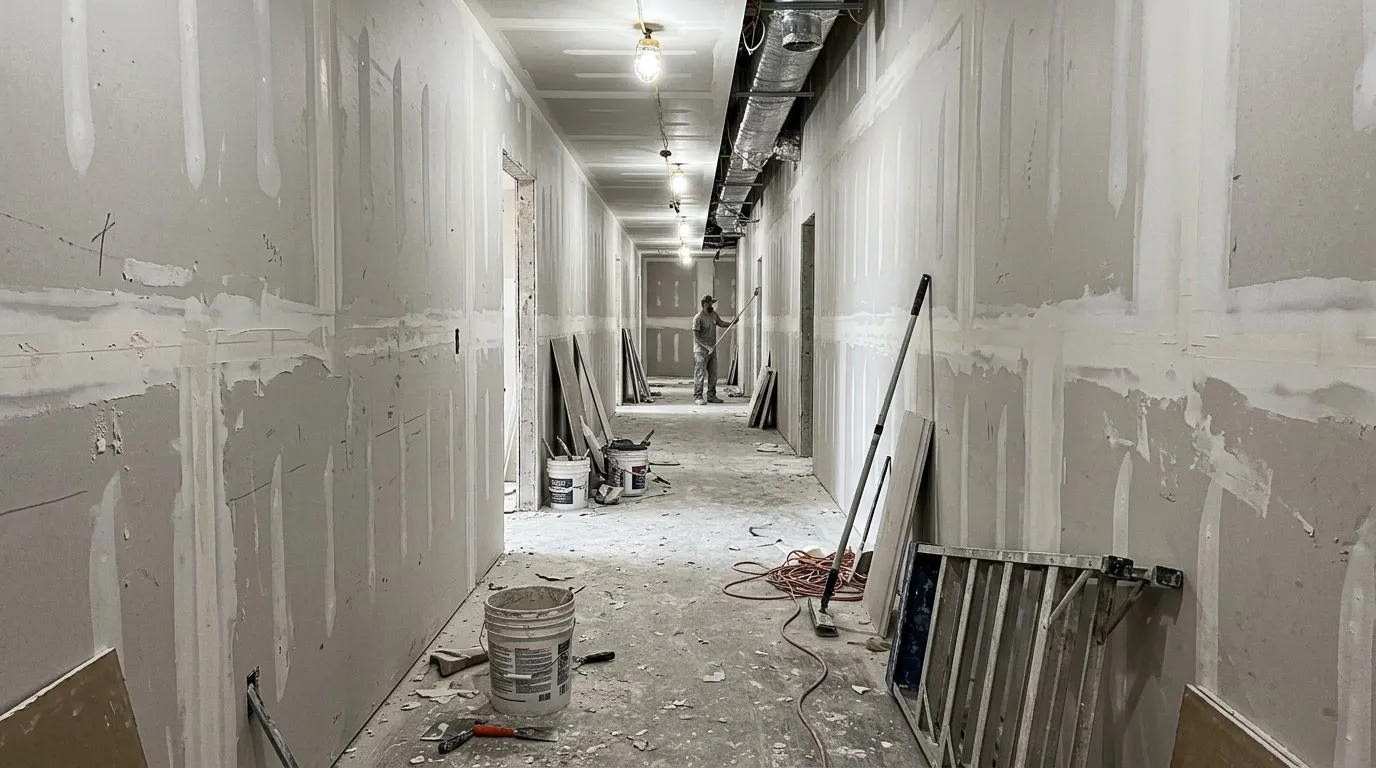
  • A freshly mudded, unpainted repair on a wall in an apartment building corridor, unit doors along the hall and a bucket, knife and sandpaper on the carpet below

    Commercial Drywall Repair

    A business trying to stay open sets the pace on commercial drywall repair, usually a tighter timeline than a residential job gets. Repairs here range from a single damaged wall in an occupied office to multi-unit repairs across a property, and we repair impact damage, water damage, and wear from regular commercial traffic, working after hours or in phases when a client needs the space to stay usable. Property managers and commercial landlords are some of our most repeat clients, since a damaged wall in a leased space needs a fast, professional fix before the next tenant walkthrough. Every repair gets matched to the existing wall finish and texture so it doesn't stand out during a lease inspection, and we document the work with photos on request for a property manager's own records.

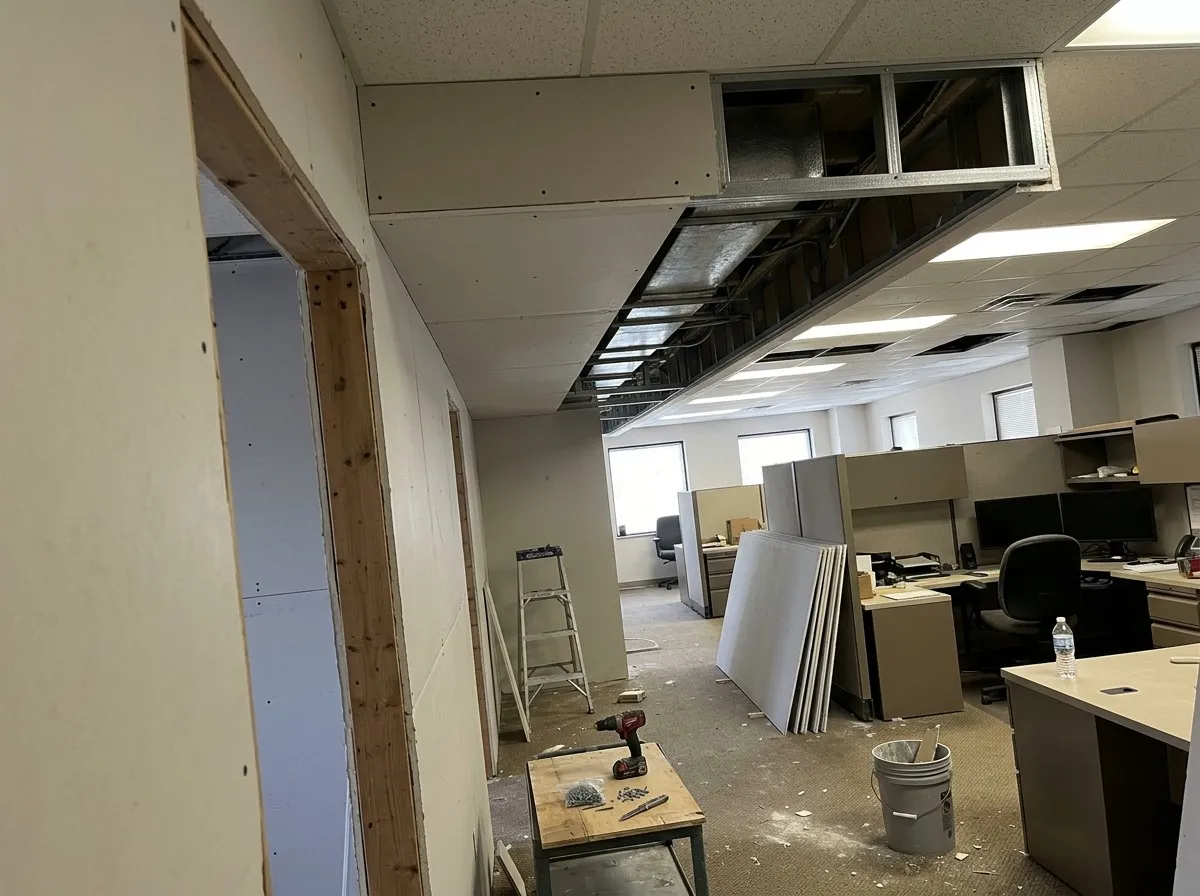
  • A drywall soffit being built along an office ceiling to box in ductwork, its metal framing still open at one end, beside an acoustic tile ceiling over the cubicles, with sheets of board and tools on the floor

    Commercial Drywall Ceilings, Soffits and Acoustic Systems

    Ceiling systems in a commercial space have to do more than look finished. They hide ductwork and wiring, manage sound between offices or units, and sometimes carry lighting fixtures built into the drop. We build drywall soffits around HVAC ductwork and lighting coves, a detail that comes up constantly in office buildouts and retail spaces where the mechanical systems have to stay hidden. For sound control between offices, conference rooms or multi-tenant units, we install acoustic drywall assemblies designed to cut sound transmission, sometimes paired with resilient channel or additional insulation depending on what the space needs. Acoustical ceiling work and soffit framing are often the same underlying carpentry, finished differently depending on whether the priority is sound isolation or a clean mechanical chase.

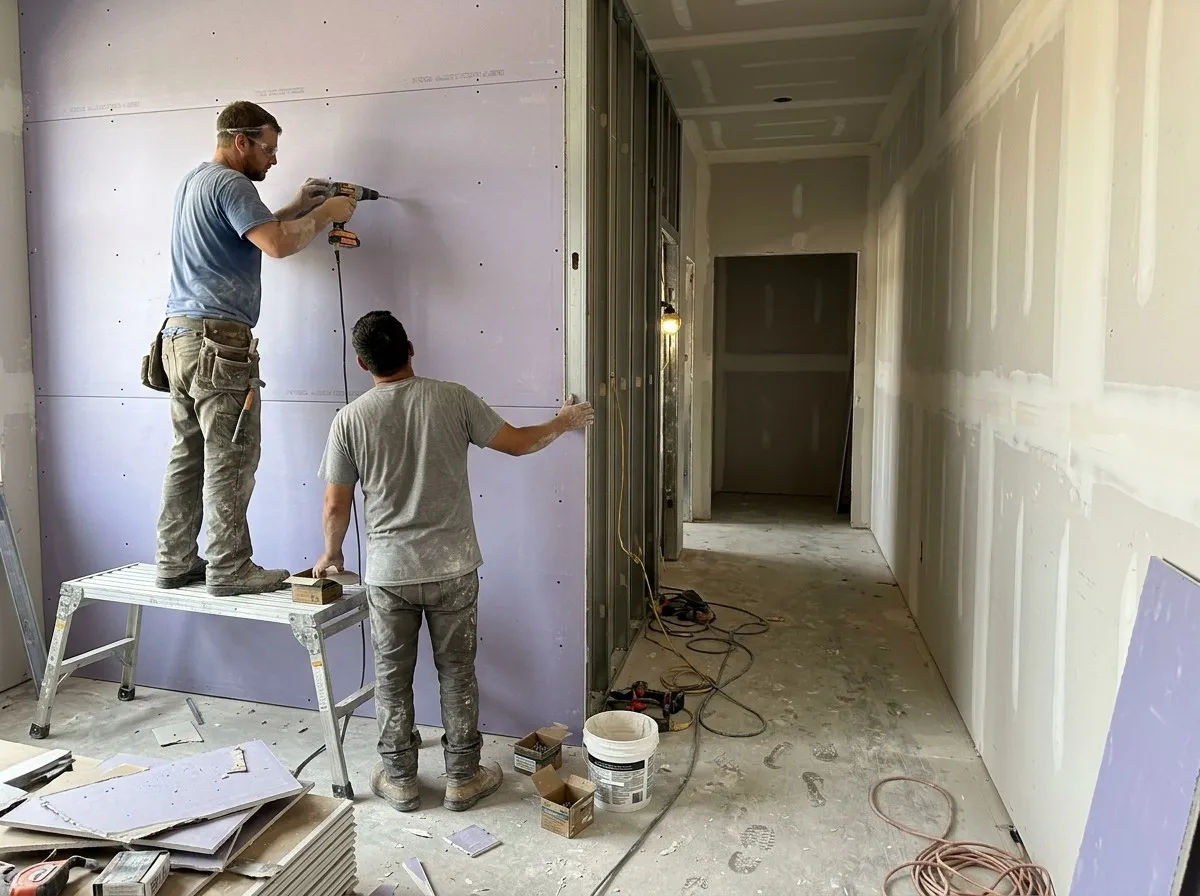
  • Two installers screwing sheets of specialty drywall onto a tall metal-stud wall beside a corridor in a commercial build, one on a work platform and one holding the board, with offcuts and boxes of screws on the floor

    Fire-Rated Drywall Assemblies

    Code requires fire-rated drywall assemblies in specific locations, and getting them wrong is a real liability for a commercial property owner. We install 5/8-inch Type X gypsum board to the fire-separation ratings commercial and multi-family projects require, the same board type the International Residential Code calls for on residential garage ceilings below habitable space, sized up for commercial wall and ceiling assemblies. Fire-rated work means following the assembly's tested design exactly, from the board layer count to the fastener spacing to the taping method, since a fire rating only holds up when the whole assembly matches what was actually tested. We handle this as its own scope of work on commercial jobs, separate from standard drywall installation, because the inspection and documentation requirements are different.

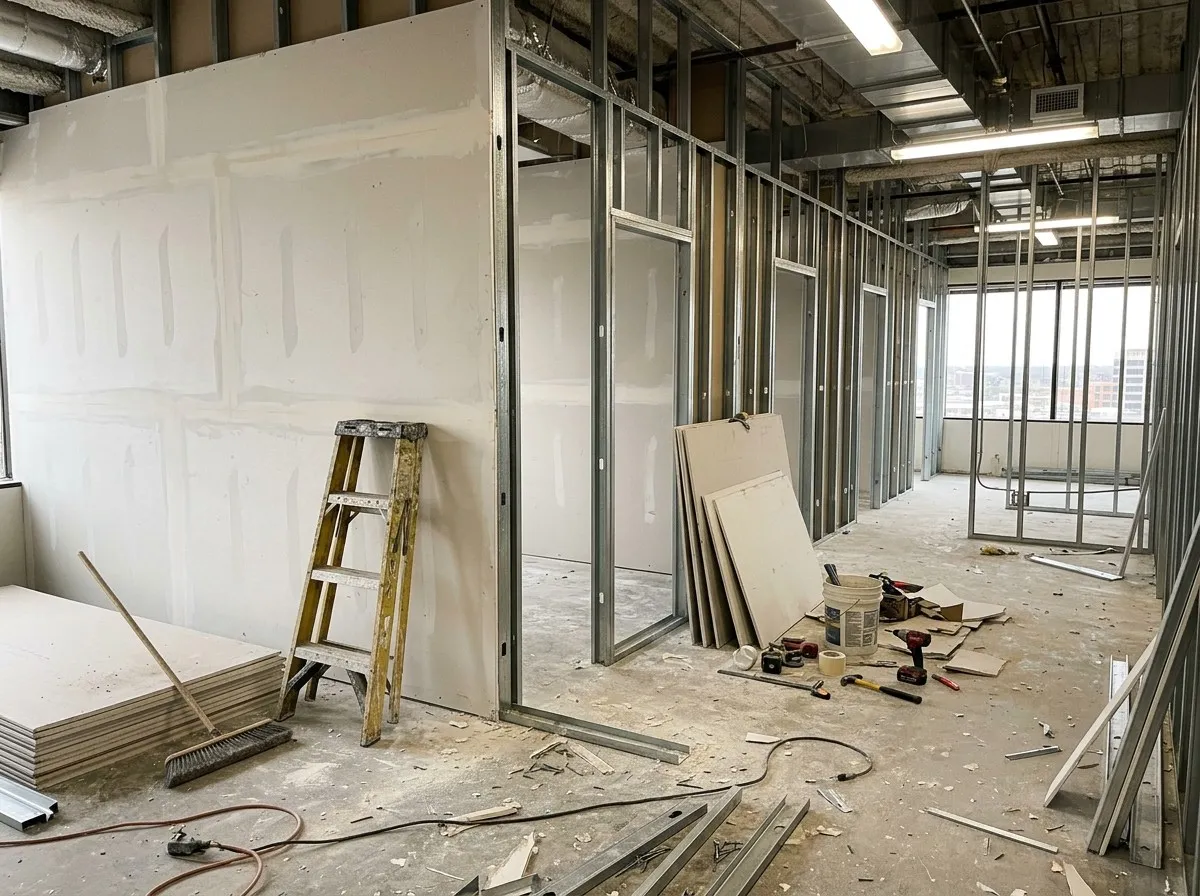
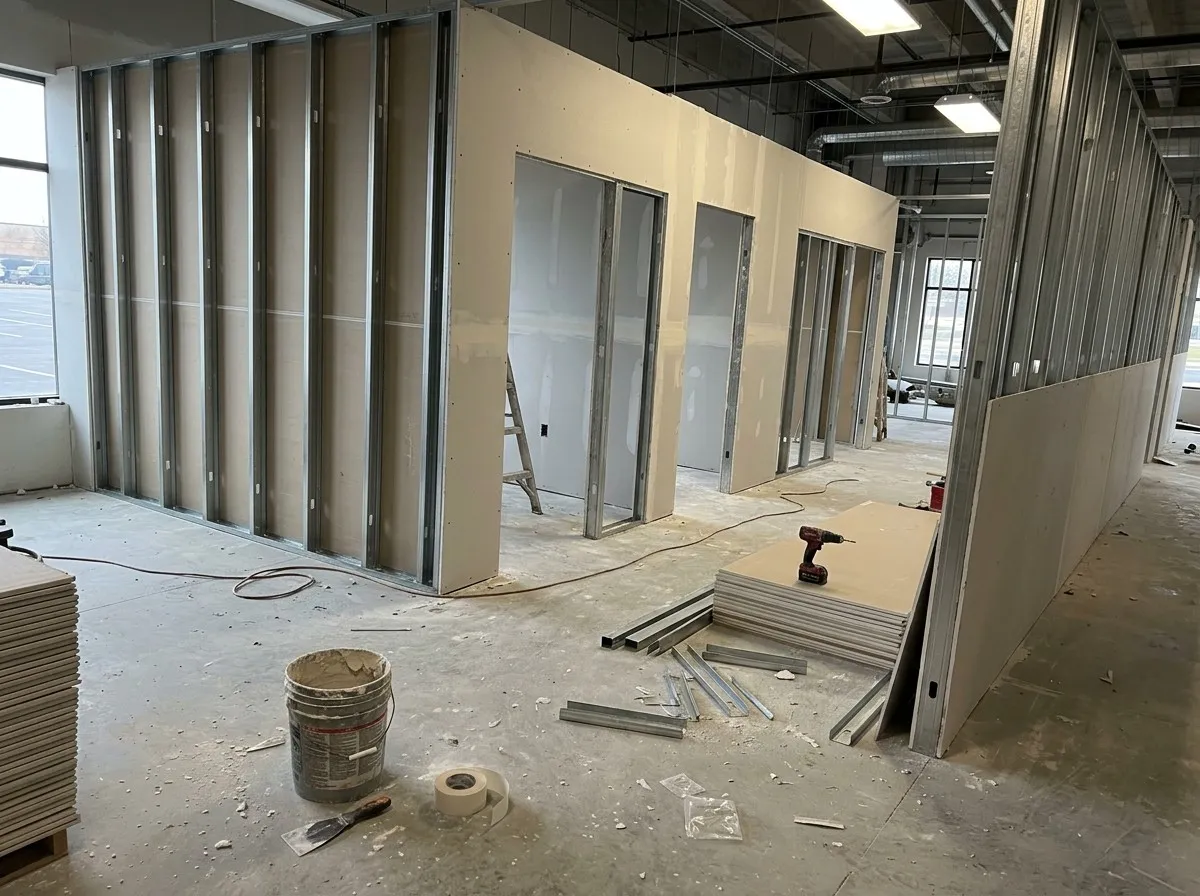
  • Metal-stud partitions framing out a row of private offices in an empty office suite, one wall already sheeted and taped, with a stack of drywall, a stepladder and tools on the concrete floor

    Commercial Drywall Partitions, Framing and Office Build-Outs

    Metal stud framing defines the new space before a sheet of drywall ever goes up, whether it's an office buildout, a retail buildout, or a multi-tenant space. We frame interior partition walls with metal studs, then hang and finish drywall on both sides to close out the space. This is where we work most directly with general contractors and property managers coordinating a full tenant improvement: framing, drywall, and finish, handled as one continuous scope instead of handing the job off between separate framing and drywall crews. Restaurant buildouts add their own requirements around moisture-resistant drywall near kitchen areas, and warehouse and multi-family projects often mean framing and finishing at a larger scale across multiple units on the same schedule.

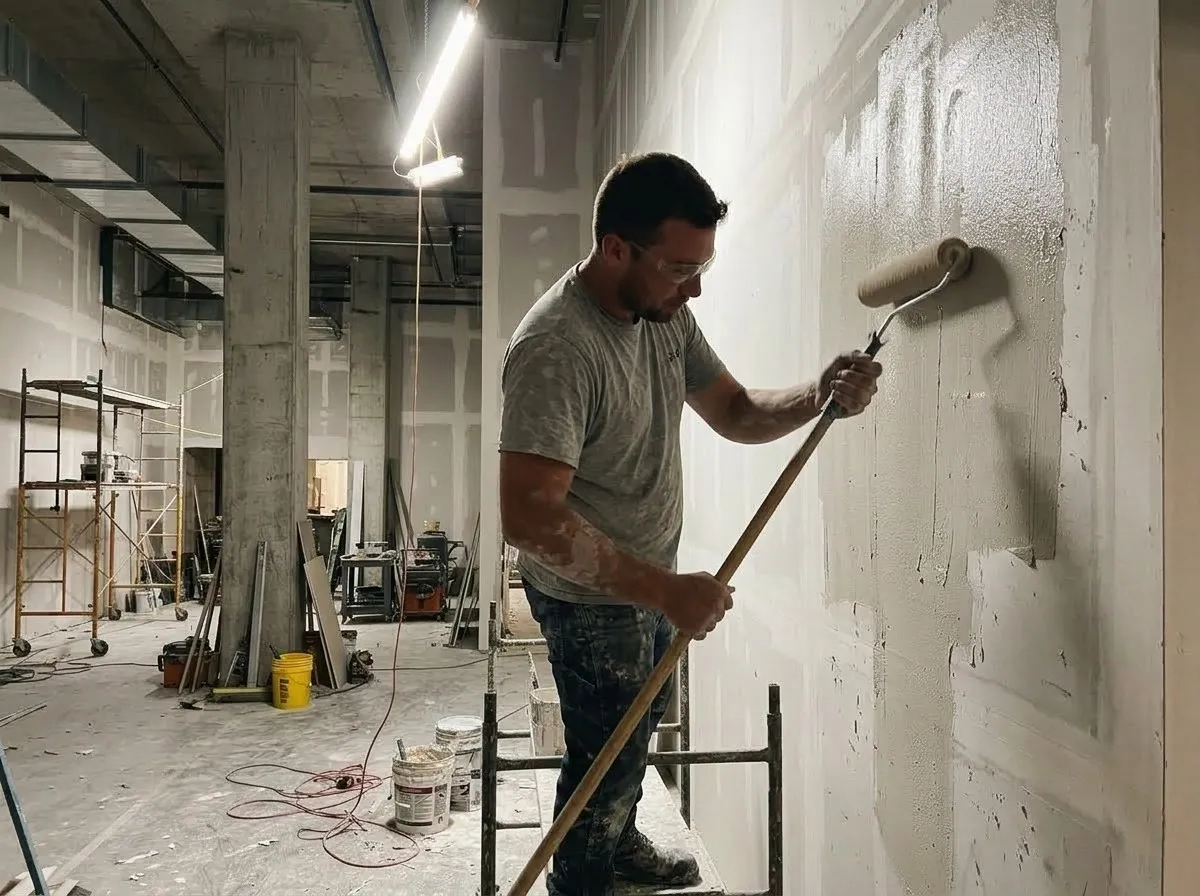
  • A finisher on a rolling platform applying a full skim coat to a tall commercial wall with an extension roller, under work lights in an open space with concrete columns and scaffolding

    Commercial Drywall Finishing and Level 5 Finishes

    Level 5 finish is a full skim coat over the entire wall or ceiling surface. Many commercial spaces need this level of finish so the space looks flawless for customers and visitors. A hotel lobby with dramatic overhead lighting shows every seam and fastener dimple that a standard finish would hide, which is exactly what a Level 5 finish is built to prevent. A thin skim coat over the whole surface levels out the texture difference between the taped joints and the rest of the drywall before paint goes on. We reserve this level of finish for where it actually matters, since it adds real labor over a standard Level 4 finish, and we walk a commercial client through whether their space and lighting plan genuinely call for it before pricing the difference. Standard commercial finishing, at Level 4, covers the rest of our commercial work and is what most office and retail spaces actually need.

Specialty Drywall Services

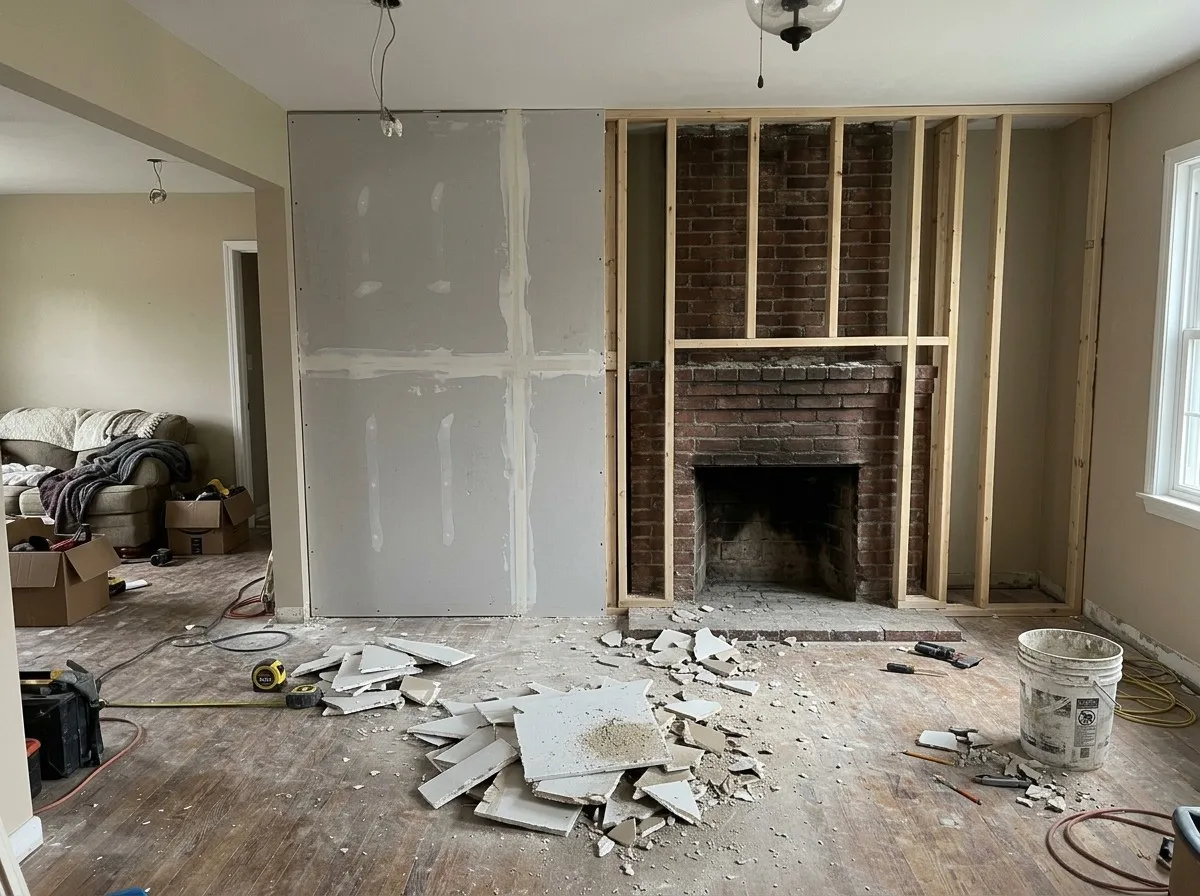
  • A wood stud frame built out around an old brick fireplace in a living room, the left half already sheeted with drywall and taped, with drywall offcuts and tools on the wood floor

    Drywall Framing

    Framing comes before drywall on any new wall, room addition, or structural remodel, and it's a distinct trade skill from hanging and finishing drywall. We frame new interior walls with wood or metal studs depending on the application. Expansion joints go into long wall or ceiling runs to keep the drywall from cracking as the building settles or the temperature swings, and we build out access points wherever mechanical or electrical systems need to stay reachable after the wall is closed. Covering an existing brick fireplace with drywall is a specific framing challenge we take on regularly in Waco's older homes. It means building a furred-out frame around the masonry rather than trying to attach drywall directly to brick, so the finished surface is flat and paintable like the rest of the room. This kind of structural prep work is common on a real home remodel, where framing, electrical, and drywall all happen in sequence on the same job.

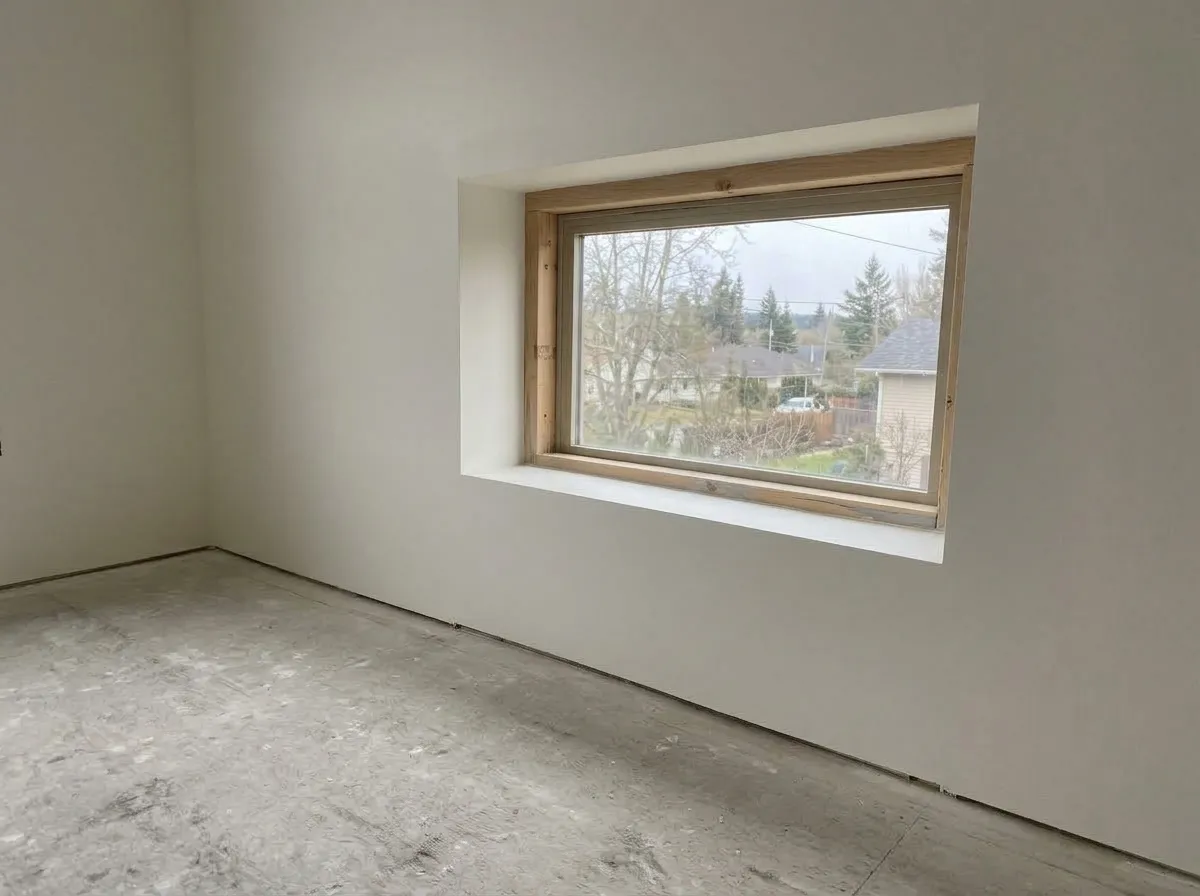
  • A window opening in a newly finished room with smooth drywall returns wrapped into the sides, head and sill instead of wood trim

    Drywall Window Returns

    A window return is the drywall that wraps into the window jamb itself, instead of trimming the opening in wood casing, and it's a detail more homeowners are asking for on new construction and remodels alike. We frame and finish a clean, square return with the same Level 4 or Level 5 finish as the rest of the room, which gives a window a cleaner, more modern look than traditional wood trim and eliminates a material transition that has to be painted separately. Getting the corners square and the depth consistent around the whole opening is the part that separates a clean return from one that looks slightly off once the light hits it at an angle, and it's a detail we price into new construction and remodel quotes upfront, before the walls go up rather than after.

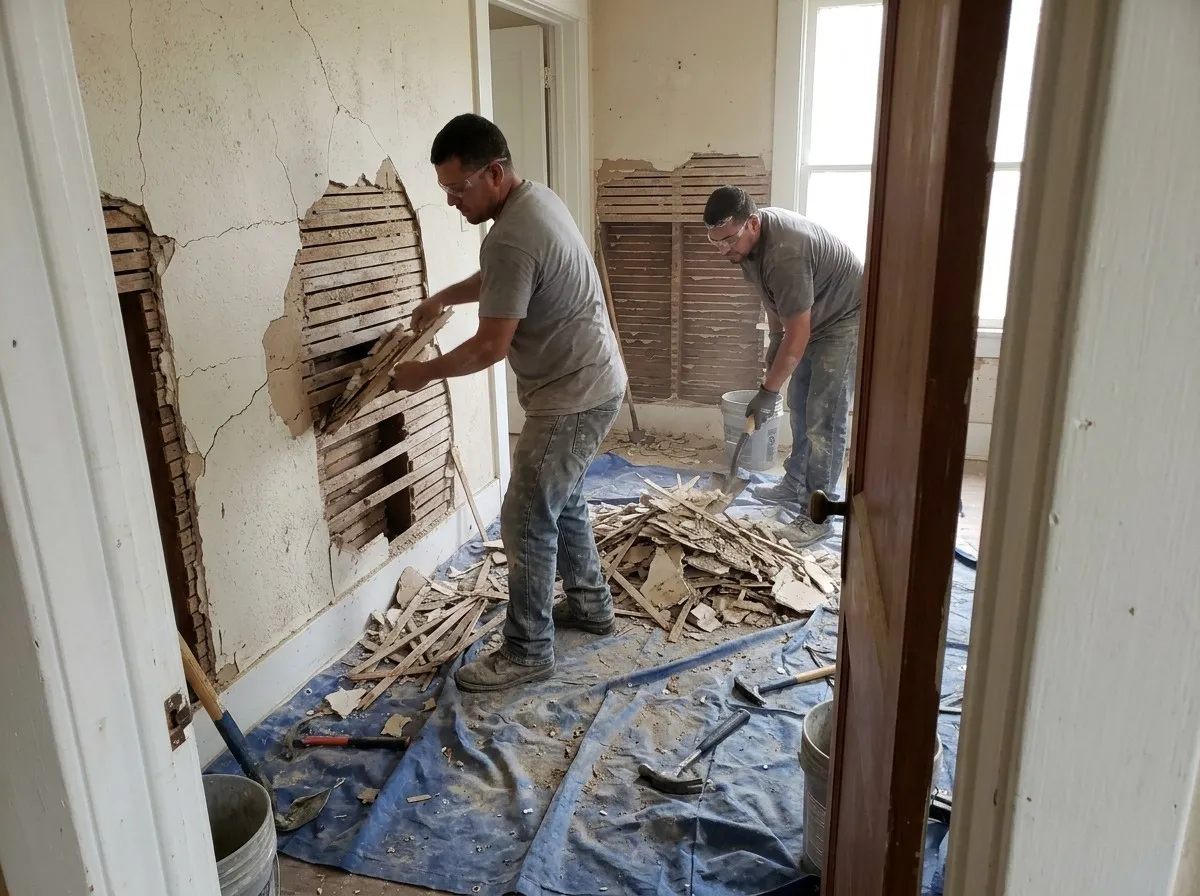
  • Two crew members removing cracked plaster and wood lath from the walls of an older home, one pulling lath strips from an opened wall while the other shovels debris off a blue tarp, seen through a doorway

    Historic Home Plaster-to-Drywall Conversion

    Older Waco homes were built on plaster and wood lath long before drywall became standard, and that plaster eventually cracks, sags, or separates from the lath behind it in ways patching can't permanently fix. We remove damaged plaster and lath down to the framing, then hang and finish drywall in its place, matching the wall thickness and texture of the surrounding original plaster so the room doesn't read as a mismatched patch job. This comes up most on older homes in Waco's established neighborhoods, where a full room or a whole house still has its original plaster walls from decades ago. We walk homeowners through what's actually salvageable versus what needs full replacement before starting, since plaster in good condition on parts of a house doesn't always need to come down just because one room does.

Drywall Materials in Waco, TX

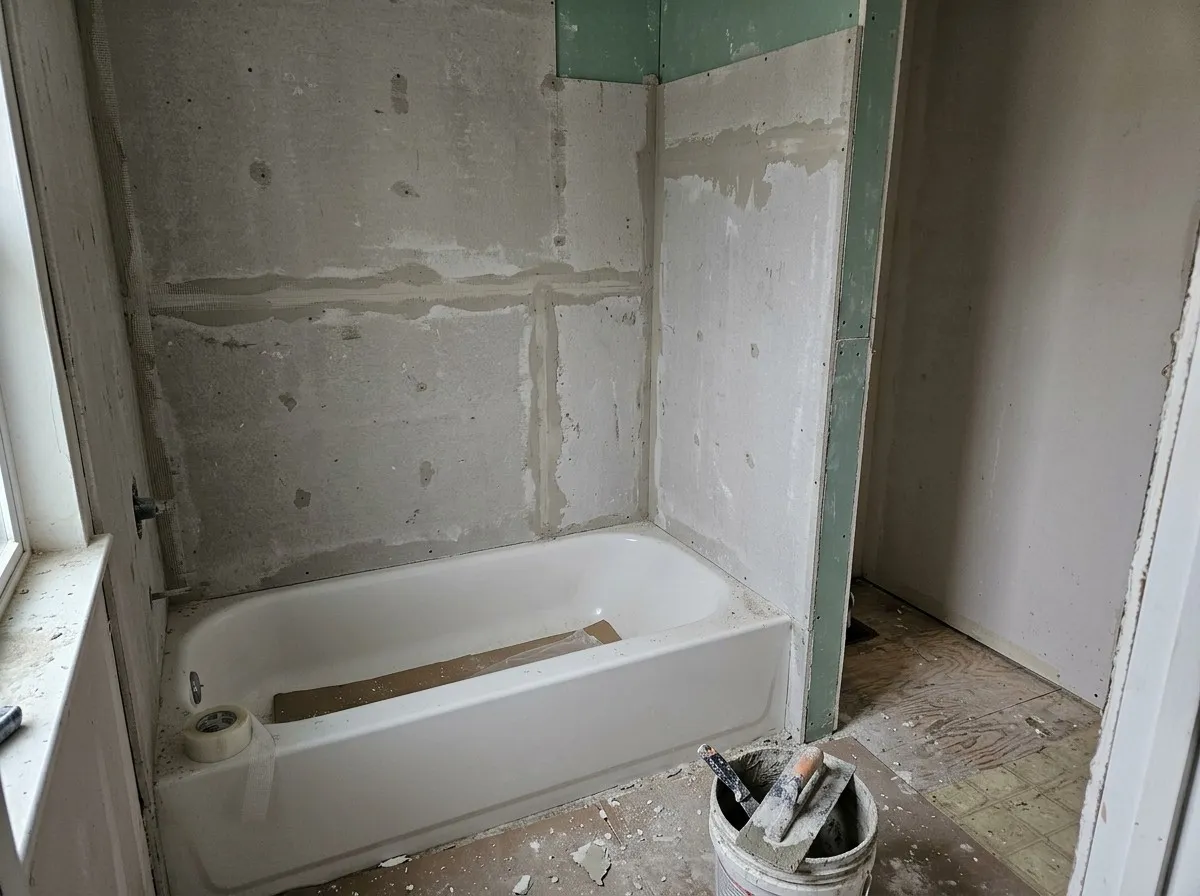
  • A bathtub surround covered in cement backer board with mesh-taped, mortared seams, ready for tile, with green moisture-resistant board above and a bucket of trowels on the floor

    Cement Backer Board

    Behind tile in a shower, around a tub surround, or anywhere water contact is a regular occurrence, we install cement backer board instead of drywall. Standard drywall, even moisture-resistant board, breaks down with direct, repeated water exposure the way cement board doesn't, which is why tile installers and building codes both call for cement board specifically as a tile substrate in wet areas. We install it as part of a bathroom remodel or a tub-to-shower conversion whenever tile is going up, fastened and taped with the same attention to seam prep as a finished drywall wall, since a poorly prepped cement board installation shows through the tile the same way a poorly finished drywall wall shows through paint.

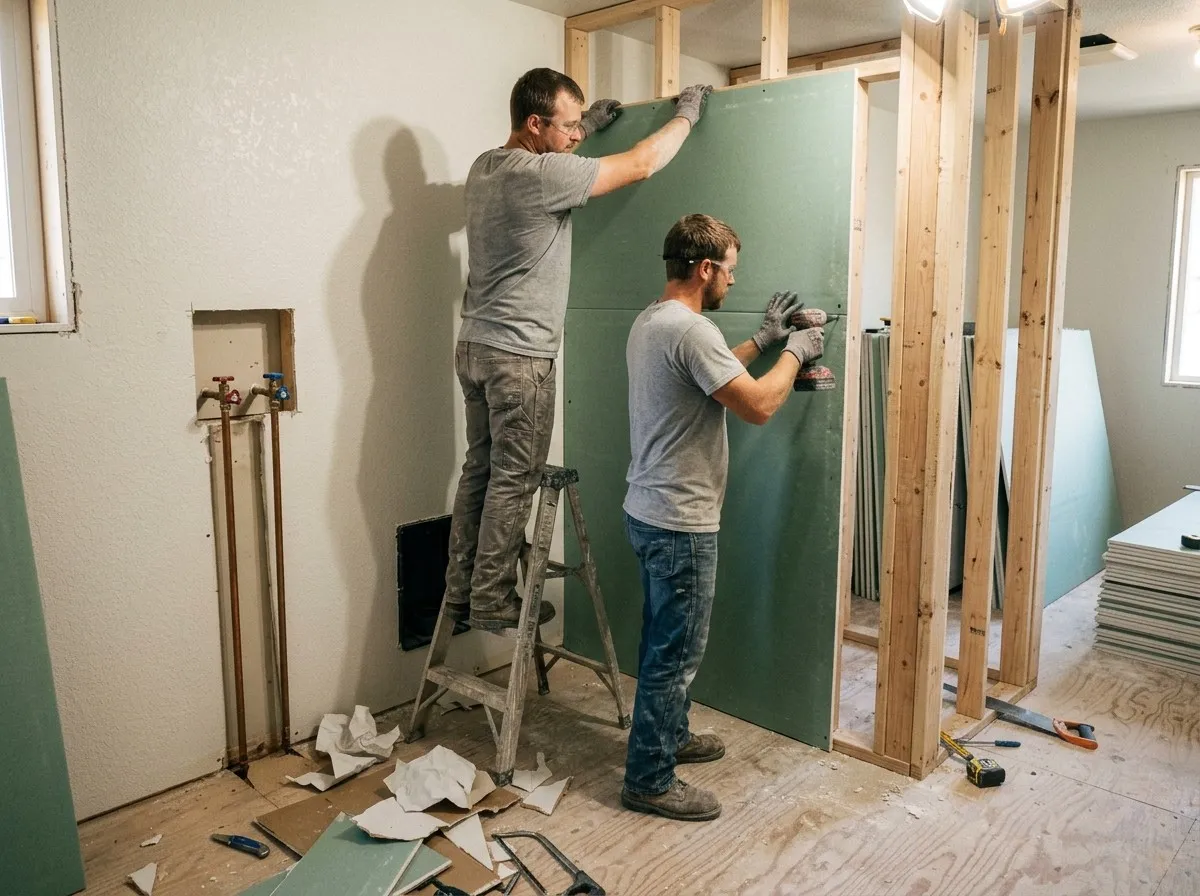
  • Two installers hanging green moisture-resistant drywall on a new stud wall in a laundry room, beside the washer hookups, with offcuts and tools on the subfloor

    Moisture-and-Mold-Resistant Drywall

    Moisture-and-mold-resistant board uses a paperless, fiberglass-faced core instead of standard paper facing, which is what actually stops mold from taking hold the way it can on regular drywall paper. We install it in bathrooms, laundry rooms, and anywhere else Central Texas humidity and Waco's spring storm season create sustained moisture exposure. The paper facing on standard board is mold's actual food source, so removing that facing addresses moisture resistance and mold resistance with the same material instead of two separate products. It costs more than standard board, so we use it where it earns that cost: full or partial bathroom walls, laundry room walls, and any area with a documented history of moisture problems.

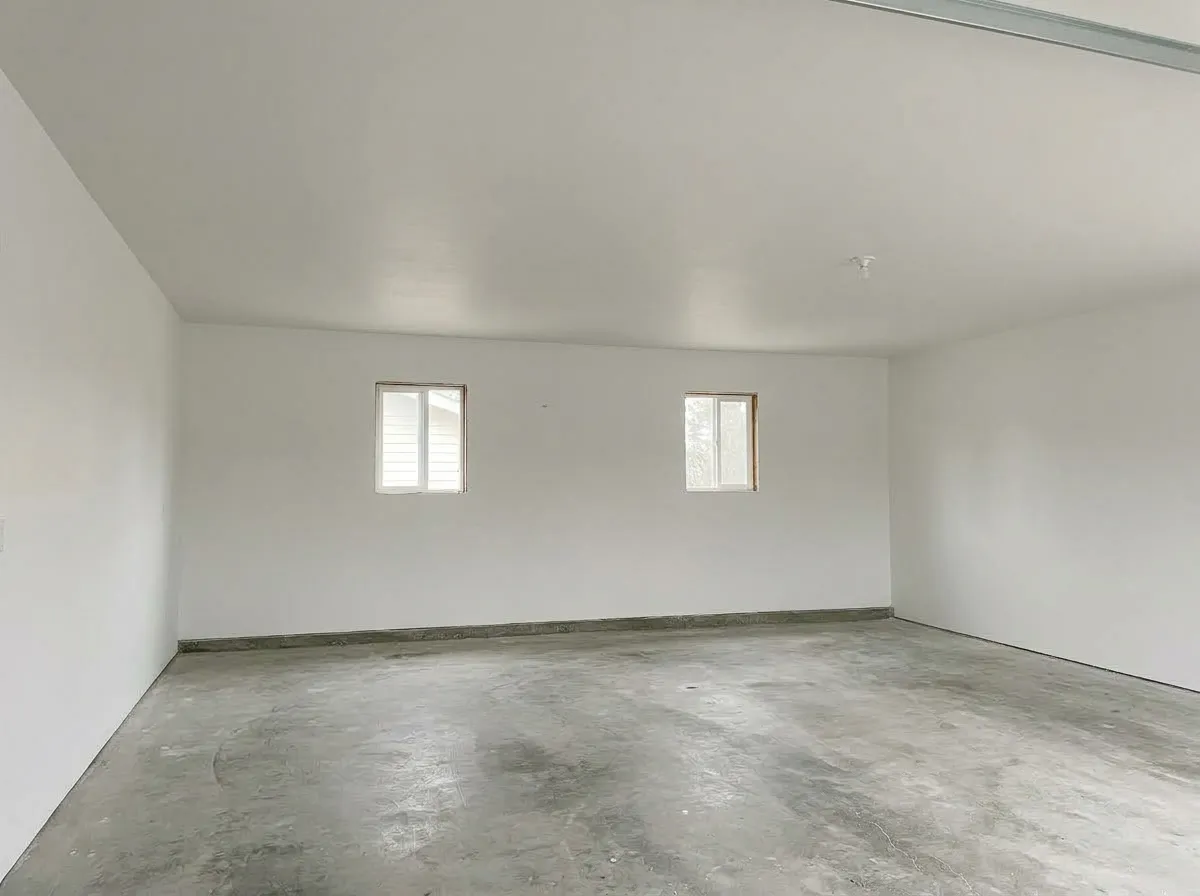
  • An empty garage with the ceiling and walls finished smooth in drywall, two small windows on the back wall and a bare concrete floor

    5/8-Inch Type X Fire-Rated Drywall

    5/8-inch Type X board has glass fibers embedded in the gypsum core that hold the board together longer under fire exposure than standard 1/2-inch drywall, which is the entire reason building codes call for it in specific locations. The clearest example in Waco is a garage ceiling below a habitable room, which code requires to be 5/8-inch Type X specifically in that location, so the ceiling holds back fire longer if something goes wrong in the garage. We install it anywhere code requires that fire separation, and we'll use it in other high-risk areas on request, since the added protection is a real, measurable difference in an actual fire.

Waco Elite Drywall's Drywall Expertise in Waco, TX

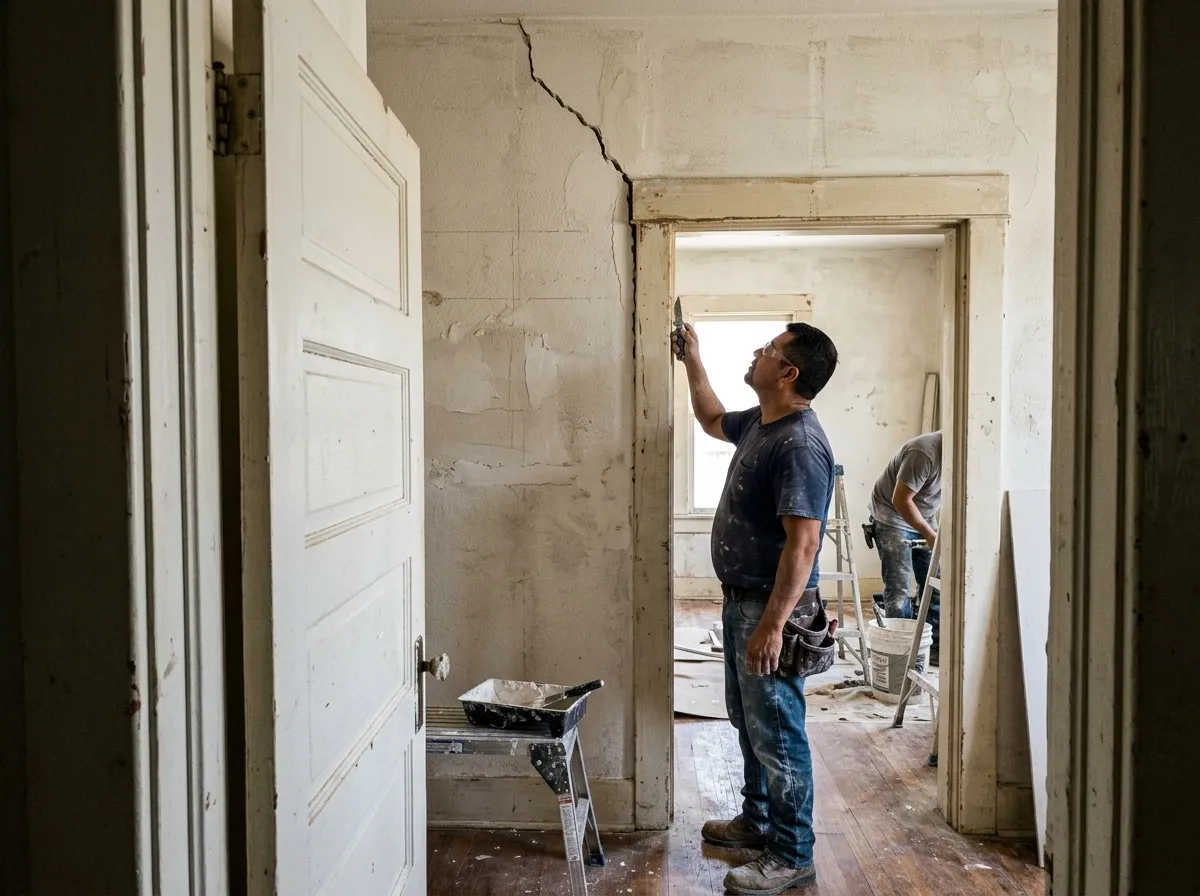
A drywall finisher inspecting a long crack running up from the corner of a doorway in an older home, seen through an open door, while a second crew member works in the next room

Central Texas sits on Blackland Prairie clay, a belt of Houston Black and related Vertisol soils that runs from the Dallas-Fort Worth area through Waco, Austin and San Antonio, among the most expansive soil types mapped in the United States. That soil shrinks in dry weather and swells when it rains, and the movement transfers straight into a house's walls and ceilings as cracks along predictable stress points: above doorways, at drywall seams near corners, and along ceiling-to-wall joints. We see this pattern constantly across Waco and McLennan County, and it changes how we approach a repair. A crack from normal seasonal movement gets patched and monitored, while a crack pattern that keeps reopening in the same spot gets flagged as a sign the movement is more than cosmetic, before we just mud over it again.

Our finishing work follows Gypsum Association GA-214, which defines drywall finish levels from a bare Level 0 up to a full-skim Level 5, and ASTM C840, the governing application and finishing specification for gypsum board. Most painted walls call for a Level 4 finish; a Level 5 skim coat is for surfaces where lighting or a glossy paint sheen would otherwise show every seam. The City of Waco adopted the 2024 International Residential Code by Ordinance 2025-813 in late 2025, and unincorporated McLennan County builds to the same code. We build fire-rated assemblies, like 5/8-inch Type X board on garage ceilings below living space, to whatever edition is currently in force rather than whatever was standard when we started.

Why We're the Best Drywall Company in Waco, TX

  • Experience and Track Record

    With 20 years of experience and more than 1,800 completed drywall projects across Waco and Central Texas, our crew has handled everything from a single nail-pop repair to a full commercial tenant build-out. Project scope on this site alone has ranged from a $95 patch repair to a $34,500 commercial build-out, and one recent job replaced an entire home's drywall in Woodway after a slab leak, a $21,200 project start to finish. That range of work means we're equally comfortable quoting a small residential repair and scoping a multi-unit commercial project, and we give both the same attention from the first phone call.
  • Credentials and Craft Standards

    We hold ourselves to a high standard, training every crew member in-house rather than relying on day labor. We're fully insured with general liability and workers' compensation coverage, and every finish job follows Gypsum Association GA-214 and ASTM C840 standards, whether that's a standard Level 4 painted wall or a full Level 5 skim coat. Our team attends AWCI's Convention & Expo, the Association of the Wall and Ceiling Industry's annual event, to stay current on materials and techniques across the trade.

  • Process and Guarantee

    Every written estimate names a real start and completion date, set during that same free on-site visit before any work begins. We protect floors and furniture, haul away our own debris, and walk every job with the client before calling it finished. Every project is backed by a written workmanship warranty, and with a 97% customer satisfaction rating, most of our work comes from repeat clients and referrals across Waco, Woodway, Hewitt, Robinson, Bellmead, Lorena, McGregor and China Spring.

Drywall Design and Installation Timeline in Waco, TX

How Long Does Drywall Installation Take?

A single-room drywall installation, like a home addition or a garage conversion, typically takes 3 to 5 days from hanging through the final finish coat, most of that time spent waiting for joint compound to dry between coats rather than active labor. A full-house new-construction install runs 2 to 4 weeks depending on square footage and how many rooms need texture versus a smooth finish. Repair work is faster. A patch or a small repair is usually a single visit, while a larger repair with texture matching needs a return visit once the compound has fully cured. What stretches any timeline the most is drying time in humid weather, since Central Texas humidity slows joint compound cure time more than most homeowners expect, along with any job that turns up unexpected damage once a wall is opened up.

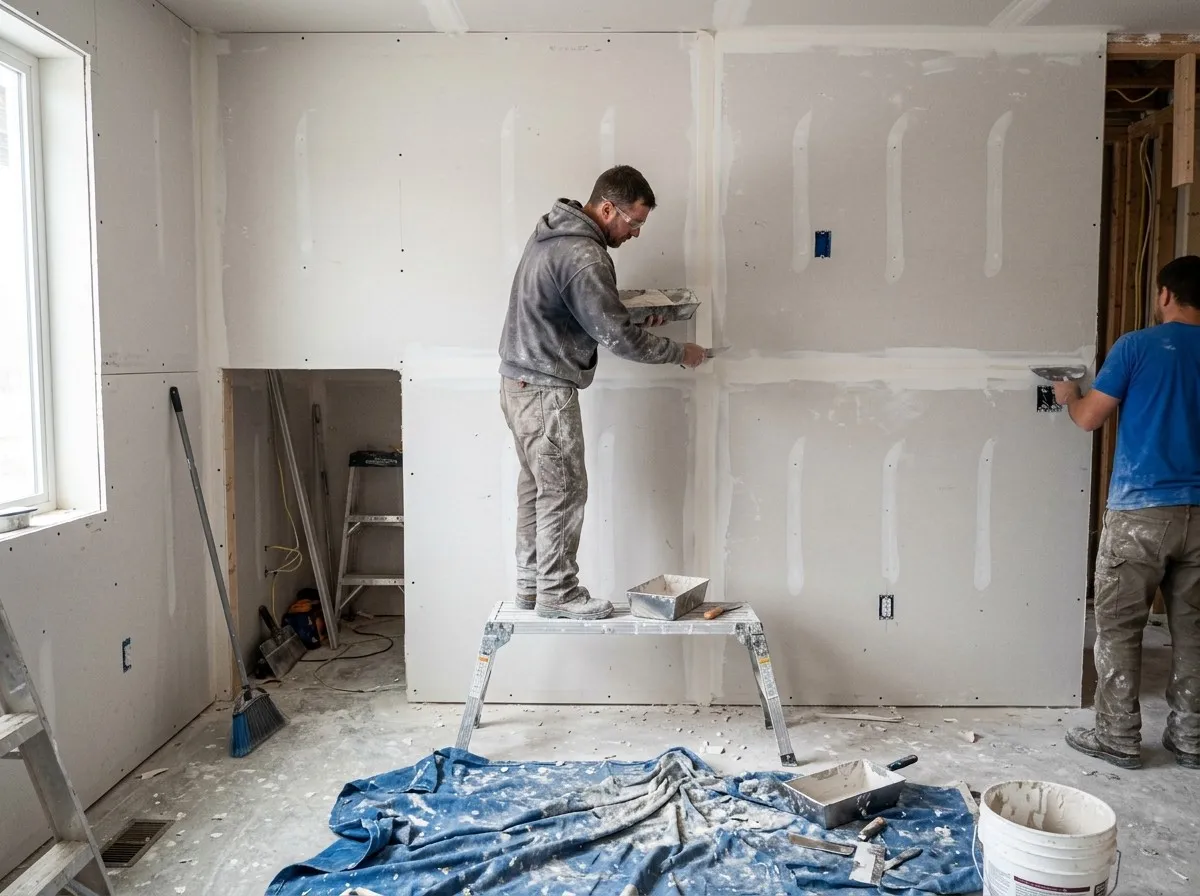
Two drywall finishers taping and first-coating seams on a newly hung wall, one on a work platform with a mud pan, with a drop cloth, bucket and tools on the floor

Project Timeline & Milestones

Our process runs in nine steps on most jobs.

  1. Initial Consultation and Site Visit

    we walk the space in person, not over the phone, to measure the actual square footage and look at what we're working with, including existing framing, any water damage, and how the new work ties into what's already there.

  2. Scope and Material Selection

    we talk through board type (standard, moisture-resistant, or fire-rated where code requires it), finish level, and texture to match the rest of the house.

  3. Written Estimate and Scheduling

    a detailed written estimate goes out with an itemized price and a real start date, put together after the site visit rather than guessed over the phone.

  4. Site Protection and Prep

    floors and furniture get covered before any material comes in or any demo starts.

  5. Framing Check, where needed

    on a new wall or a structural repair, we confirm framing spacing and condition before drywall goes up.

  6. Drywall Installation

    board gets hung, fastened to spec, and corner bead and trim installed at every edge.

  7. Taping, Mudding and Sanding

    every seam gets three coats of joint compound, sanded smooth between coats.

  8. Texturing and Finish Coating

    texture gets matched to the surrounding wall, or a smooth Level 4 or Level 5 finish is applied, depending on the job.

  9. Final Walkthrough

    we walk the finished space with the client before calling the job done, and handle any touch-ups on the spot.

Inspection and Damage Assessment

For repair work specifically, we assess the underlying cause before repairing the surface, checking whether ceiling water staining is from an active leak or a past one that's already been fixed, and whether a crack pattern is normal seasonal movement or something that needs a foundation contractor's opinion first. This assessment happens during the same initial site visit for most jobs, but a larger repair or an insurance-related claim sometimes needs a follow-up visit once we've had time to research the cause more thoroughly.

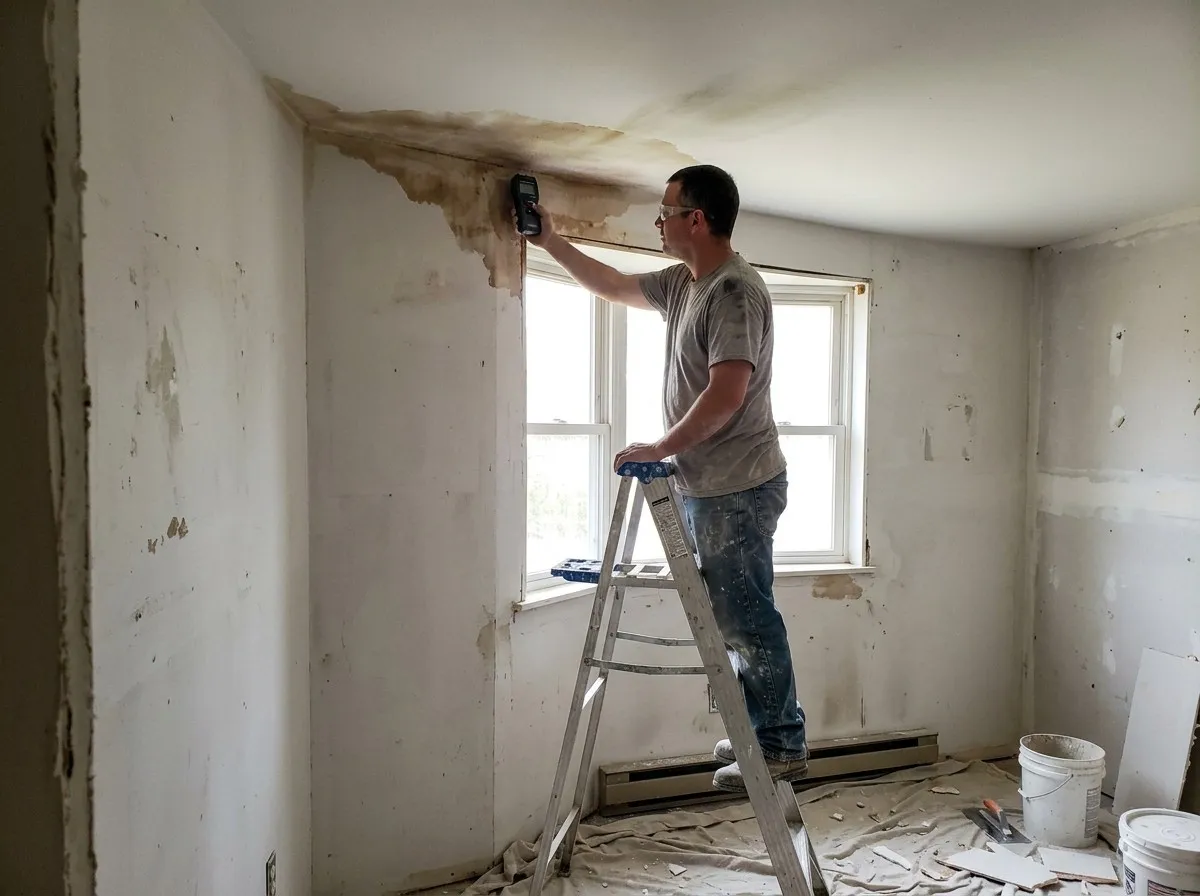
A drywall technician on a stepladder holding a moisture meter to a water-stained ceiling corner above a window, where the drywall is peeling from past leaks

Recent Drywall Projects in Waco, TX

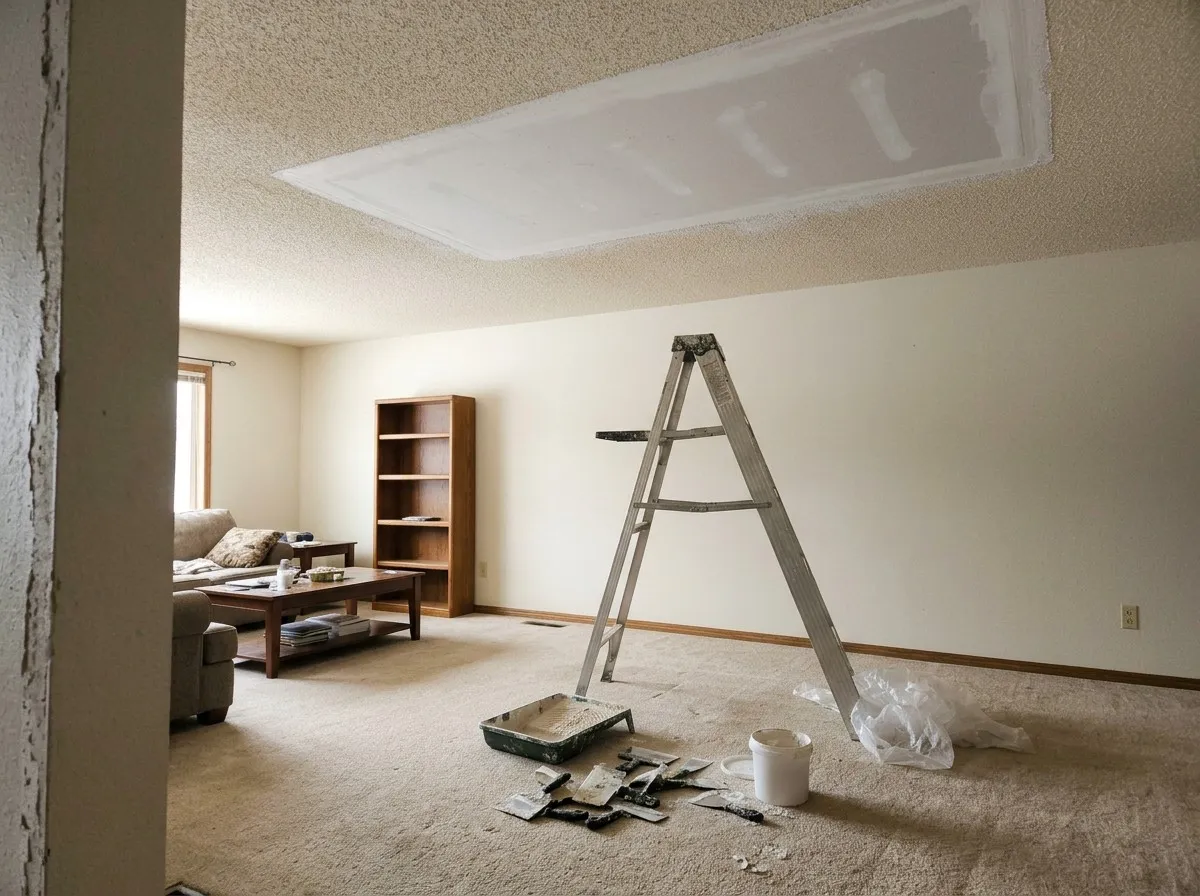
  • A living-room ceiling with a large new drywall patch taped and mudded into the old textured ceiling, a stepladder, knives and a mud pan on the carpet below

    Water Damage Ceiling Repair in Cameron Park

    Service: Residential Drywall Ceiling Repair

    A roof leak in a Cameron Park home damaged roughly 40 square feet of ceiling drywall in the living room. We repaired the affected section, matched the existing knockdown texture, and primed the repair so it was paint-ready. The job also included checking the surrounding ceiling for any secondary moisture damage before closing it up.

    Project Value: $1,150

  • A ground-floor office suite being divided into private offices with metal-stud partitions, some walls sheeted with drywall and door openings framed, with stacks of board, studs and a bucket of compound on the concrete floor

    Office Tenant Buildout in Downtown Waco

    Service: Commercial Drywall Partitions, Framing and Office Build-Outs

    A ground-floor office suite in downtown Waco needed metal stud framing and drywall partitions to divide roughly 2,200 square feet into four private offices and a conference room, plus fire-rated assemblies at the shared walls between tenants. We framed and finished the full buildout on a schedule coordinated with the general contractor's other trades.

    Project Value: $18,500

  • The inside of a new single-family house seen from a doorway, every room hung with drywall and the seams taped and first-coated, a knockdown-textured ceiling, stacked compound buckets and a stepladder on the subfloor

    Whole House Drywall Installation in Hewitt

    Service: New Construction and Remodeling Drywall Installation

    A new single-family build in Hewitt needed a full drywall install across roughly 2,600 square feet and 11 rooms, hung, taped and finished to Level 4 throughout, with knockdown texture matched to the builder's spec on every wall and ceiling. We worked directly off the framing plans, coordinated our schedule around the electrical and plumbing rough-in, and finished the whole house in just under three weeks without holding up the builder's next trade. The homeowner walked the finished rooms with us before closing and signed off the same day.

    Project Value: $14,800

  • A hallway wall with a first coat of compound feathered over a repaired crack running up from the corner of a door frame, a mud pan and knives on the wood floor below

    Recurring Wall Crack Repair in Lorena

    Service: Residential Drywall Repair and Patching

    A Lorena homeowner had a wall crack near a doorway that kept reopening after two prior patch jobs from a different contractor. We traced the pattern to normal Blackland Prairie clay movement, repaired the crack with a flexible-joint technique built to move with the wall instead of cracking again, and are monitoring it on a follow-up visit.

    Project Value: $875

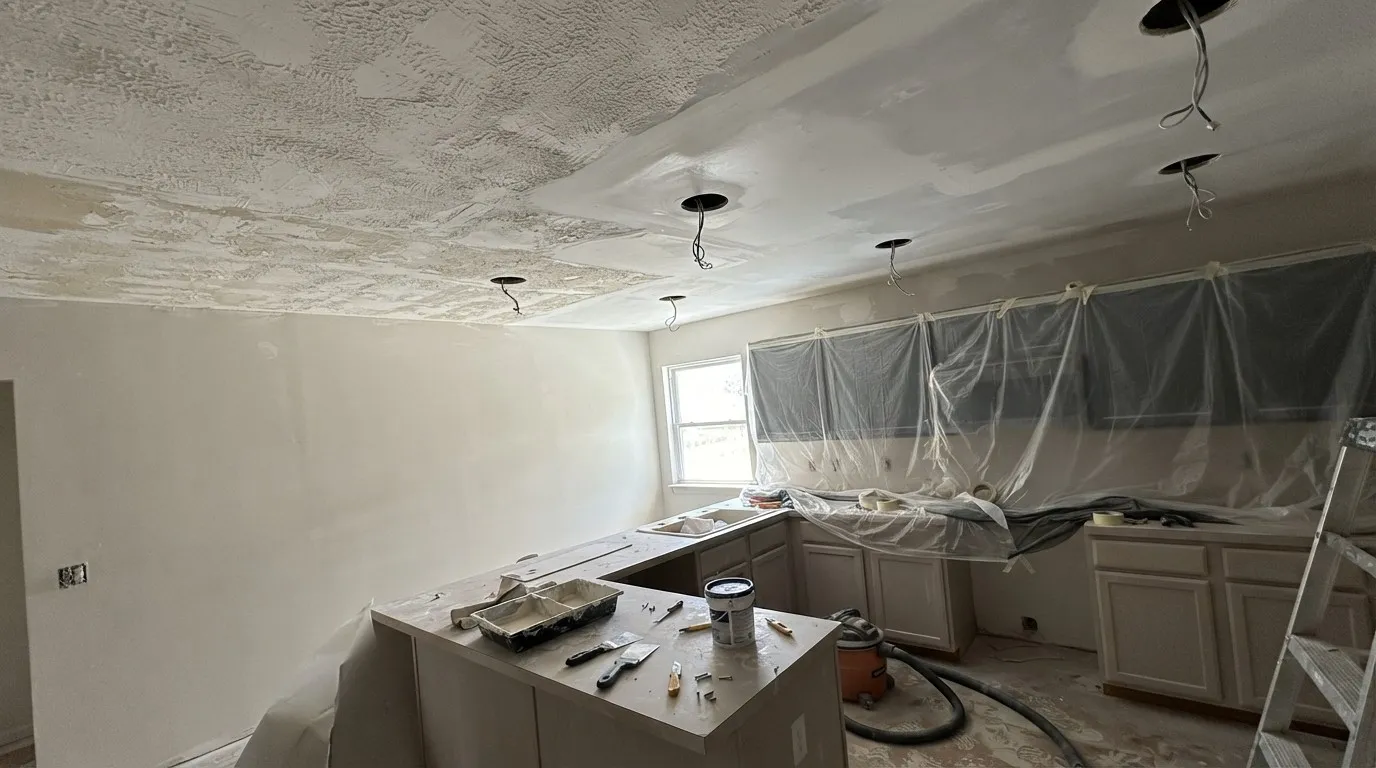
  • A kitchen ceiling with the old texture scraped on one side and a smooth skim coat on the other, recessed light cutouts open, plastic sheeting taped over the cabinets and finishing tools on the counter

    Ceiling Texture Removal and Level 5 Finish in Robinson

    Service: Residential Drywall Finishing and Texturing

    A kitchen and bathroom remodel in Robinson called for removing decades-old popcorn texture, original to the home's 1978 build, from both ceilings and finishing them smooth to Level 5 ahead of new recessed lighting the homeowner had already picked out. We scraped roughly 340 square feet of texture, skim-coated both ceilings in three passes, sanded between coats, and left them ready for paint with no visible seam or fastener dimple under the new fixtures. The homeowner told us the kitchen ceiling alone made the whole remodel feel finished.

    Project Value: $3,100

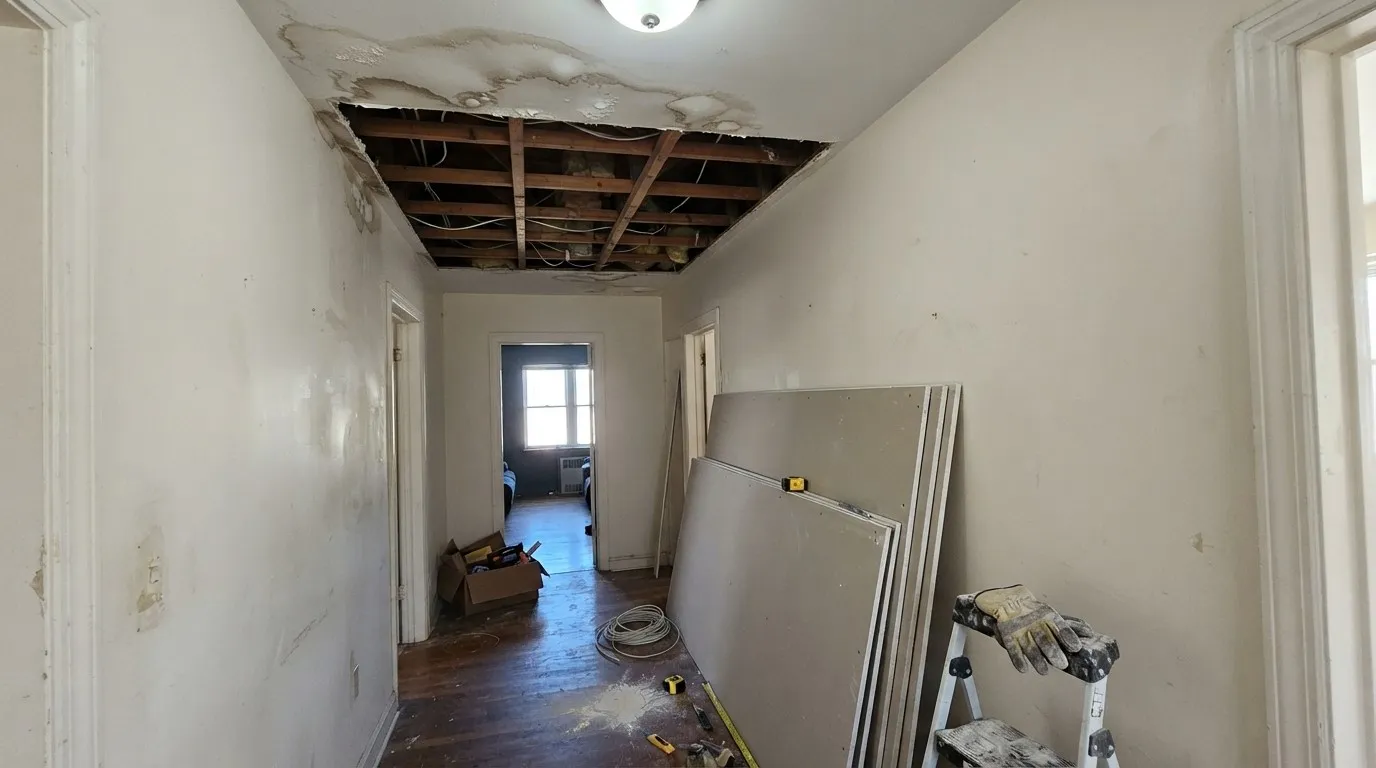
  • An apartment hallway with a storm-damaged section of ceiling cut out to the joists, water stains spreading around the opening and new drywall sheets leaning against the wall

    Multi-Unit Storm Damage Repair in Bellmead

    Service: Commercial Drywall Repair

    Wind-driven rain during a spring storm damaged drywall in 6 apartment units at a Bellmead property, mostly ceiling staining and two sections of fully saturated drywall that had to come out down to the framing. We repaired all 6 units on a coordinated schedule with the property manager, working around occupied units where possible and finishing the last unit inside two weeks so the property could get back to normal turnover. Every repaired ceiling was texture-matched to the original knockdown finish so no unit stood out on the next walkthrough.

    Project Value: $9,600

Drywall Cost and Pricing in Waco, TX

What Affects Cost?

Several factors drive the price of any drywall job: the amount of material needed for the space, whether the job is new installation or a repair, the finish level required (a Level 5 skim coat costs more than a standard Level 4 finish), the board type (standard, moisture-resistant, or fire-rated all price differently), and how accessible the work area is. Ceiling work generally costs more than wall work of the same size, since it's slower and requires more support to keep material from sagging before it's fastened. Texture matching on a repair adds cost over a smooth patch, since it takes a second visit once compound has cured to apply and blend.

How Much Does Drywall Cost?

ServicePrice RangeWhat Drives the Price
New Drywall Installation$1,900 – $4,800 per room ($1.50 – $4 per sq. ft.)Room size, ceiling height, board type
Drywall Repair and Patching$200 – $650 per job ($3 – $10 per sq. ft. for larger areas)Damage size, texture matching, access
Drywall Finishing and Texturing$1.50 – $3 per sq. ft.Finish level, texture type
Drywall Ceiling Repair$250 – $900 per job ($3 – $12 per sq. ft.)Ceiling height, water damage extent, texture match
Wallpaper Removal$1 – $3 per sq. ft.Adhesive age, number of layers, wall prep needed
Whole-House New Construction Drywall$2 – $3.50 per sq. ft.Square footage, finish level, texture

Every estimate is written and itemized before work begins, so the full cost is on paper upfront.

Budget Planning

Material costs (board, tape, joint compound, texture) are usually the smaller part of a drywall budget. Labor is what most of the price reflects, since hanging, taping, sanding and finishing are all time-intensive skilled work. If budget is tight, prioritize getting the installation and finish done right on visible walls and ceilings first; texture and paint can always be updated later, but a poorly hung or poorly taped wall underneath is expensive to fix once it's painted over. For a remodel, budget for the possibility that opening up a wall reveals something unexpected, like water damage or old wiring that needs to be addressed before new drywall goes up.

Professional Drywall Installation vs. DIY

DIY drywall installation is possible for a small, simple patch, but it's a genuinely different result from professional work on anything larger. Getting seams to disappear under paint takes practiced technique with a taping knife and the right compound consistency at each coat. A DIY attempt often shows ridges or shadowing once painted, especially under any angled or bright lighting. Texture matching is even harder to DIY convincingly, since getting the right stipple size and knockdown timing takes real repetition to get consistent. For a small nail-pop repair, DIY is a reasonable option; for anything involving a full wall, a ceiling, or texture matching, professional installation is worth the cost difference in the finished result.

Hidden Costs & Additional Considerations

A repair job sometimes uncovers more damage than what's visible from the surface: water damage that's spread further than the stained area, or framing that needs attention before new drywall goes up, both of which can add to the original scope once a wall is opened. Texture matching on an older home can also cost more than expected if the original texture technique isn't a common one anymore and takes extra time to replicate. Permit fees apply to larger structural or new-construction drywall work within Waco city limits, handled through the City of Waco's Inspection Services division, and we account for those in any estimate that requires one.

Financing / Payment Structure

Every estimate includes a clear payment structure, including a deposit at the time of signing and the balance due at final walkthrough once the work is complete and approved. Larger commercial or new-construction jobs are broken into milestone payments tied to the project schedule, laid out in writing before work begins so there are no surprises on invoicing.

Proudly Serving Waco and the Surrounding McLennan County Area

Waco Elite Drywall serves Waco and the surrounding McLennan County communities, including Woodway, Hewitt, Robinson, Bellmead, Lorena, McGregor and China Spring. Our crew scopes every project the same way regardless of which of these towns it's in, with the same free on-site estimate and written pricing.

Aerial view of downtown Waco, Texas, with brick warehouse buildings in the foreground, a historic high-rise tower on the right and a domed courthouse behind it

Here's What Happy Waco Customers Have to Say

  • Denise R.3 weeks ago on

    Waco Elite Drywall repaired a water-damaged ceiling in our living room and you honestly can't tell anything happened. They matched our texture perfectly.

  • Marcus T.1 month ago on

    Fast, clean, and the pricing was exactly what they quoted upfront. No surprises on the invoice.

  • Kevin P.2 months ago on

    We had them handle a full office buildout downtown and they worked right alongside our contractor's schedule without a single delay.

  • Angela M.4 months ago on

    Waco Elite Drywall replaced our entire kitchen ceiling after we had popcorn texture removed. Smooth as glass now.

  • Robert H.6 months ago on

    Waco Elite Drywall fixed a crack that two other companies couldn't stop from coming back. They explained exactly why it kept happening too.

  • Sarah L.9 months ago on

    Professional from the first estimate to the final walkthrough. Would use them again for any drywall work.

Drywall Services in Waco, TX FAQs

How much does drywall cost in Waco, TX?

Drywall pricing depends on the type of work:

  • New drywall installation: $1,900–$4,800 per room ($1.50–$4 per square foot), depending on size and ceiling height
  • Drywall repair and patching: $200–$650 per job ($3–$10 per square foot for larger areas), depending on damage size and texture matching needs
  • Finishing and texturing: $1.50–$3 per square foot, depending on finish level
  • Ceiling repair: $250–$900 per job ($3–$12 per square foot), depending on water damage extent and texture match
  • Wallpaper removal: $1–$3 per square foot, depending on adhesive age and number of layers
  • Whole-house new construction drywall: $2–$3.50 per square foot

Every estimate is written and itemized before work begins, so the full cost is on paper upfront.

How long after drywall installation can I paint?

You can paint once the final coat of joint compound is fully dry and sanded smooth, which typically means waiting 24 to 48 hours after the last coat in normal conditions, longer if humidity is high. Painting over compound that hasn't fully cured can trap moisture and cause the paint to bubble or the finish to show flashing where the compound absorbed paint differently than the surrounding board. We prime bare drywall before the final paint coat regardless of how long it's been drying, since bare compound and bare paper absorb paint differently and prime coat evens that out.

What's the difference between Level 4 and Level 5 drywall finish?

A Level 4 finish tapes and coats every seam with joint compound feathered out until it's invisible under normal lighting, which is the standard finish for most painted walls. A Level 5 finish adds a thin skim coat over the entire wall or ceiling surface, which is what you need for a glossy paint sheen, strong side lighting, or any surface where you don't want any texture difference visible at all. Level 5 costs more because it's extra labor across the whole surface, so we recommend it specifically for spaces where the lighting or finish would otherwise show every seam, not as a default upgrade.

Do you offer warranties on your drywall work?

Yes, every project comes with a written workmanship warranty. We stand behind the installation and finish work itself, and we do a final walkthrough with you before considering any job complete, addressing any touch-ups on the spot rather than leaving them for a callback.

Can you match existing texture on a repair or addition?

Yes, texture matching is part of every repair and addition we do. We identify the existing texture, whether it's knockdown, orange peel, or a smooth finish, and replicate the application technique and timing needed to match it, since getting the stipple size or knockdown timing wrong is what makes a repair obvious from across the room. On older homes with less common texture styles, this sometimes takes extra care to replicate correctly.

What causes drywall cracks in Waco homes?

Most drywall cracks in Waco trace back to Blackland Prairie clay soil, which shrinks and swells with the seasons and transfers that movement into a house's walls and ceilings, usually as cracks above doorways or along seams near corners. Normal seasonal cracking is cosmetic and can be repaired and monitored. A crack that keeps reopening in the same spot after being patched, especially if it's widening or paired with a door or window that's sticking, is worth having assessed further, since that pattern can point to foundation movement rather than routine drywall settling.

What happens if you find water damage or other issues once a wall is opened up?

We stop and talk to you before proceeding if we find something beyond the original scope, like water damage that's spread further than expected or framing that needs attention before new drywall goes up. We'll explain what we found, what it means for the repair, and get your approval on any added cost before continuing, rather than absorbing it into the original estimate without discussion.

How does the estimate and scheduling process work?

We start with a free on-site visit to see the actual space and scope of work in person, rather than pricing it sight-unseen over the phone. From there we provide a written, itemized estimate with a real start and completion date, and once you approve it, we schedule the work and protect the space before any material or demo begins. Larger jobs, like a full remodel or new-construction install, get milestone-based scheduling coordinated with your other trades or contractor.

Can drywall be installed over existing drywall, or does it need to be removed first?

It depends on the condition of what's already there. If the existing drywall is sound, flat, and properly fastened, a new layer can sometimes go over it, though this adds thickness that affects trim and outlet depth and isn't our first recommendation. In most repair and remodel situations, we remove damaged or outdated drywall down to the framing instead, since that gives a cleaner result and lets us check the framing and insulation behind it before closing the wall back up.

Get Waco's Drywall Crew on the Job

From residential drywall installation and repair to commercial build-outs and fire-rated assemblies, Waco Elite Drywall handles every part of the job, in Waco and throughout McLennan County. Request your free estimate today and we'll have written pricing back to you before we ever pick up a tool.

Call 254-320-5764